
What Is the Easiest Way to Update Old Cabinet Hardware?
If your kitchen or bathroom cabinets are structurally fine but stylistically stuck in 1994, don’t remodel — re-hardware. Swapping cabinet knobs and pulls is the fastest, cheapest transformation in home improvement: an afternoon, about a hundred dollars, and cabinets that look new. When people ask what is the easiest way to update old cabinet hardware, the answer is refreshingly simple — but a few details separate a clean upgrade from a crooked mess.
What Is The Easiest Way To Update Old Cabinet Hardware?
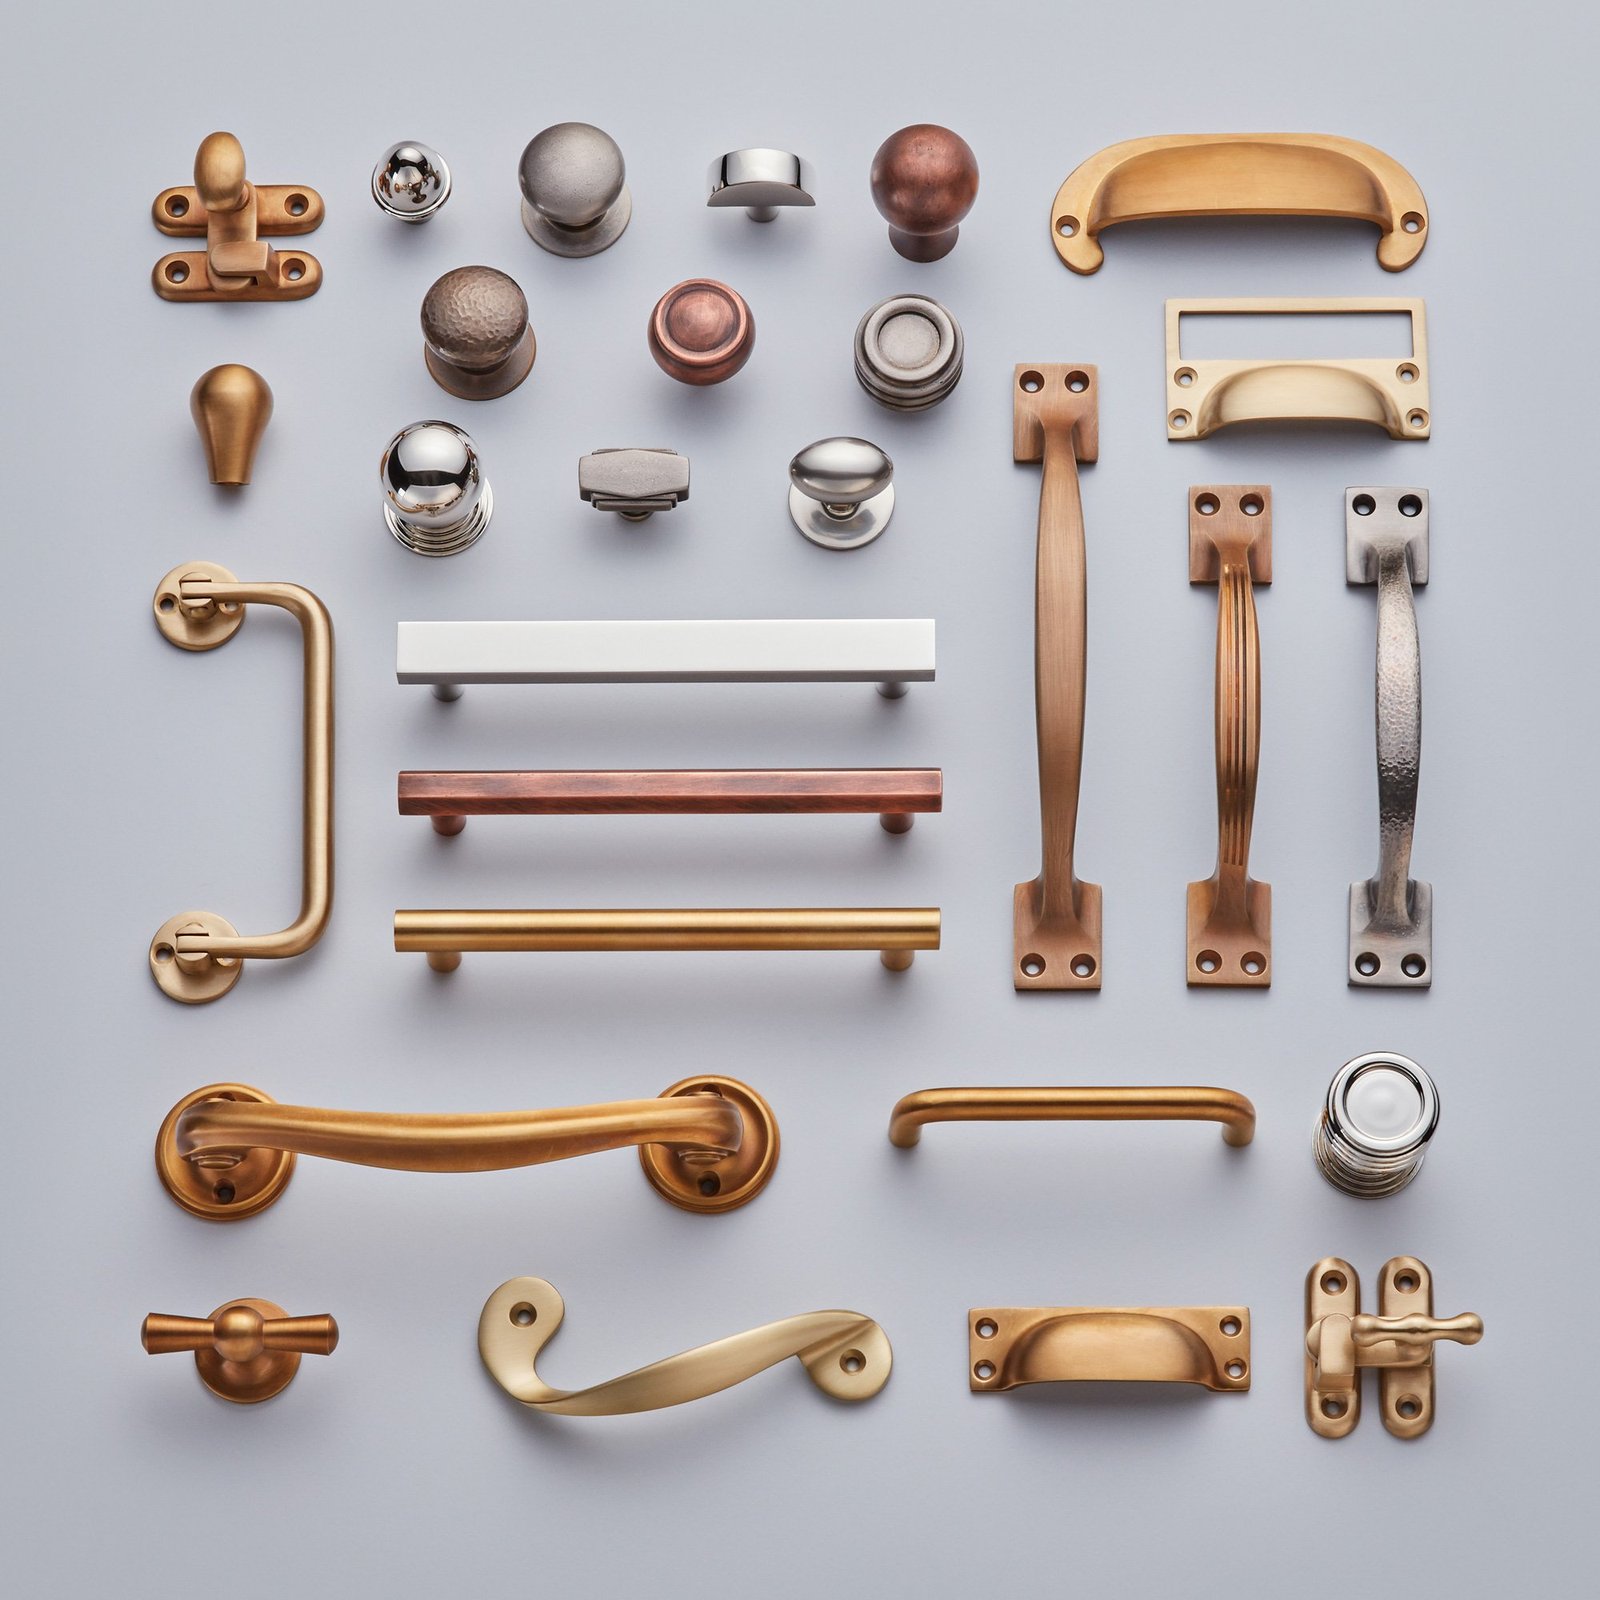
Cabinet hardware is the jewelry of the room. It’s what your hands touch dozens of times daily and what your eyes register as “dated” or “current.” Those shiny brass knobs, the tiny wooden pulls, the 4-inch centers that scream builder-grade — replacing them with matte black, brushed brass, or sleek stainless instantly modernizes without touching the cabinets themselves. It’s the highest visual-ROI spend in the kitchen after paint.
Step 1: Measure Before You Shop
This is the step people skip, then regret in the hardware aisle:
- Measure the hole spacing (center-to-center) of existing pulls. Common sizes: 3″, 3-3/4″ (96mm), 5-1/16″ (128mm). Buying pulls that match your existing holes avoids drilling new ones — the easiest path by far.
- Count everything: doors, drawers, plus 10% extra for mistakes and future needs. There’s nothing worse than being two pulls short with a discontinued line.
- Note door vs. drawer needs: knobs for doors + cup pulls or bar pulls for drawers is the classic combo; all-bar-pulls is the modern look.
- Check screw length: standard screws fit 3/4″ doors; thicker doors need longer screws (usually included in multi-packs, but verify).
Step 2: Choose Your Style and Finish
- Matte black: the current default — modern, hides fingerprints reasonably, pairs with everything.
- Brushed/brass gold: warm, upscale, pairs beautifully with white and navy cabinets.
- Brushed nickel/stainless: the safe classic — neutral, timeless, matches stainless appliances.
- Oil-rubbed bronze: traditional and rustic; best with warm wood tones.
Finish consistency rule: match (or deliberately complement) your faucet and lighting finishes. Mixed metals can work, but it takes intention — random mixing looks accidental. And buy solid metal, not hollow/plastic — the weight difference is immediately noticeable in hand, and cheap hardware feels cheap forever. Budget $3–$8 per piece for quality; a 30-piece kitchen runs $90–$240.
Step 3: Install Like a Pro
- Remove one old piece at a time (or all, if you’re confident about hole positions).
- Use a hardware jig/template ($10–$20) — it marks consistent hole positions on every door and drawer. This is the difference between professional-looking and “eyeballed it.” Worth every penny.
- Drill new holes (if changing sizes) with a sharp brad-point bit, drilling from the finished side with painter’s tape over the spot to prevent chipping. Support the back with scrap wood.
- Fill old holes if they show: wood filler, sand flush, touch up with paint or a stain marker.
- Attach new hardware: hand-tighten plus a quarter turn — overtightening strips the screw or dents the door.
- Step back and check alignment every few pieces. Consistent placement matters more than perfect placement.
Placement Guidelines
- Door knobs/pulls: typically 2–3″ from the corner opposite the hinges (top corner for lower cabinets, bottom corner for uppers).
- Drawer pulls: centered horizontally; vertically centered on the drawer face (or on the top rail for wider drawers).
- Consistency beats creativity — same position on every door of the same type. The eye reads uniformity as quality.
Common Mistakes
- Buying before measuring hole spacing — the #1 hardware mistake.
- Mixing too many finishes without a plan.
- Cheap hollow hardware that feels tinny and loosens within months.
- Skipping the jig and freehanding hole positions.
- Forgetting the hinges — if your hinges are visible and dated, updating them too ($2–$4 each) completes the transformation. Mismatched new-knobs/old-hinges is a common half-finished look.
Pair this with a cabinet refresh for maximum impact — our no-sand cabinet refinishing guide and cheapest kitchen updates stack perfectly with new hardware.
Where to Buy Quality Hardware (Without Overpaying)
Best value: online hardware specialists (bulk pricing, huge selection, $2–$5 per piece for solid metal). Best for seeing in person: home improvement stores — smaller selection, higher prices, but you can feel the weight and finish. Best for unique styles: Etsy and specialty hardware makers — handmade and unusual designs, $8–$20 per piece, worth it for statement kitchens. Best for matching existing: the manufacturer’s website or restoration hardware suppliers (for older homes). Money-saving trick: check the “open box” and clearance sections — contractors over-order constantly, and you can find premium hardware at half price. And always order 2–3 extras beyond your count; running short on a discontinued line is a special kind of pain, and spares cover future damage.
The 10-Minute Jig You Can Make Free
Don’t want to buy a $15 hardware jig? Make one: take a piece of cardboard or thin plywood, mark your hole positions on it once (measuring carefully from the door/drawer edges), and punch or drill through the marks. Now you have a template — hold it against each door, mark through the holes, repeat identically 30 times. For drawers, make a second template. It takes 10 minutes to make and guarantees consistent placement across the whole kitchen. Pro tip: label the template “TOP” and mark which edge goes against the hinge side — flipping it accidentally is how you get mirrored misplacements. Consistency is the entire game with hardware; the template is how you win it.
Mixing Knobs and Pulls: The Designer Formula
The classic designer approach: knobs on doors, pulls on drawers. It looks intentional, feels ergonomic (pulls give better grip on wide drawers), and it’s what you’ll see in most professionally designed kitchens. The modern alternative — all pulls, everywhere — reads more contemporary and works well with slab-front cabinets. Either is correct; mixing randomly is not. One more consideration: on upper cabinets, knobs at the bottom corner; on lower cabinets, knobs at the top corner — always on the opening side. Consistent, predictable, professional.
For more on matching finishes and placement, Apartment Therapy’s guide to choosing kitchen cabinet hardware is a solid deeper read.
The Takeaway
What is the easiest way to update old cabinet hardware? Measure existing hole spacing, buy quality solid-metal hardware in a finish that complements your faucet, use a $15 jig for consistent placement, and install in an afternoon. $90–$240 for a kitchen that looks a decade newer.
It’s the rare project that’s genuinely as easy as it looks — just measure first, buy quality, and keep placement consistent. Your cabinets (and your hands, dozens of times a day) will thank you.