
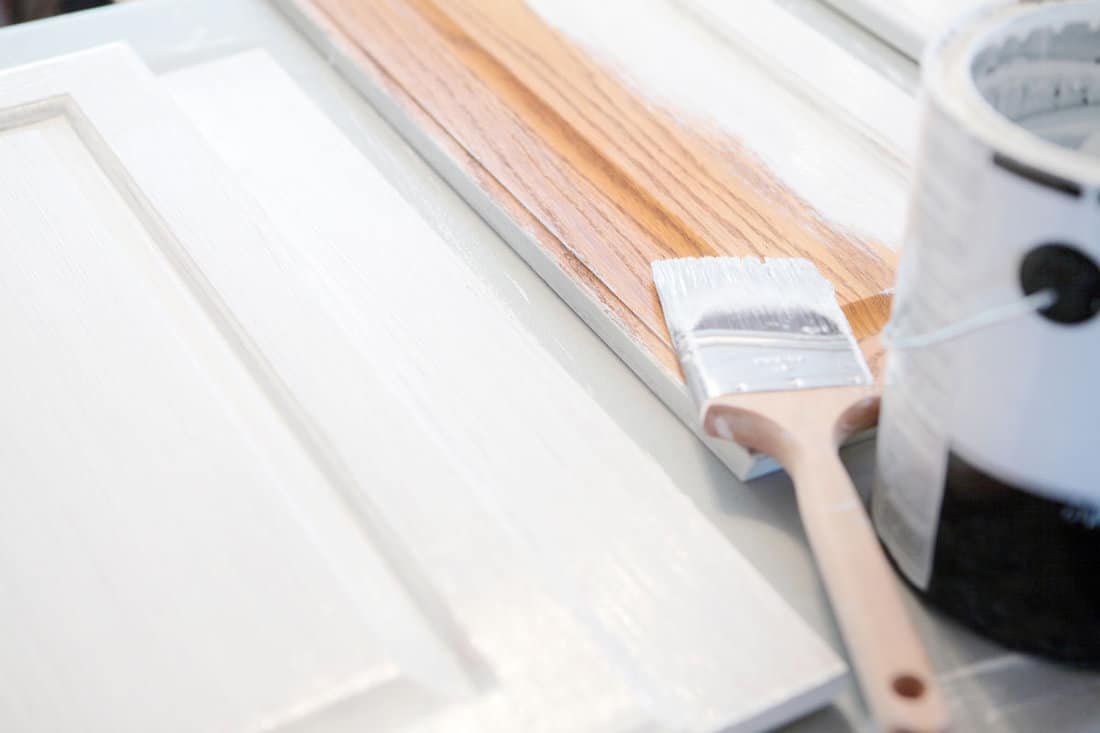
Can I Refinish Kitchen Cabinets Without Sanding Them?
Sanding kitchen cabinets is the worst part of refinishing them — dust everywhere, endless tedium, and the risk of sanding through veneer. So when people ask can I refinish kitchen cabinets without sanding them, they’re asking the right question. The answer: yes, with the right products and prep — but “no sanding” doesn’t mean “no prep.” Here’s what actually works.
The Short Answer
Yes. Liquid deglossers (liquid sandpaper), bonding primers, and cabinet-specific paints let you skip the sanding step on cabinets in good condition. The key qualifier: the existing finish must be sound — well-adhered, not peeling or flaking. If the old finish is failing, no product saves you; that needs sanding or stripping. But for the typical “dated oak cabinets in decent shape” scenario, no-sand methods work beautifully.
Method 1: Liquid Deglosser + Bonding Primer (Best Results)
This is the closest to a professional no-sand refinish:
- Remove doors, drawers, and hardware. Label everything (painter’s tape on the inside with location notes). This step is tedious and non-negotiable — painting doors in place looks amateur.
- Degrease thoroughly. Kitchens coat cabinets in airborne grease over years. Clean with TSP substitute or a degreasing cleaner, twice. Rinse. This matters more than the sanding you’re skipping.
- Apply liquid deglosser (liquid sandpaper) per instructions — wipe on, let dwell, wipe off. It chemically etches the existing finish for adhesion. Ventilate well; the fumes are strong.
- Apply bonding primer. This is the critical product — shellac-based (BIN) or quality bonding primers grip glossy surfaces that regular primer can’t. One to two coats.
- Paint with cabinet enamel — not wall paint. Acrylic urethane enamels (like Benjamin Moore Advance or Sherwin-Williams Emerald Urethane) cure hard and resist the handling cabinets get. Two thin coats, sanding lightly between coats with 220-grit (this light inter-coat sanding is quick and very different from full stripping).
- Let cure fully — 2–4 weeks for maximum hardness. Be gentle with doors during curing.
Method 2: Chalk-Style / Mineral Paint (Easiest)
Chalk and mineral paints (Annie Sloan, Fusion Mineral Paint, etc.) adhere to most surfaces with minimal prep — just degrease. They’re the easiest path: clean, paint two coats, seal with wax or topcoat. The finish is matte and softly textured — beautiful for farmhouse/shabby aesthetics, less ideal for sleek modern looks. Durability is good if sealed properly; unsealed chalk paint on high-touch cabinets wears fast.
Method 3: Gel Stain (For a Stained Look)
If you want to keep a wood look but change the color, gel stain goes over existing finish without stripping. Degrease, apply deglosser, wipe on gel stain in thin coats, topcoat with polyurethane. It won’t look like fresh bare-wood staining — it’s more opaque — but it transforms oak to walnut-toned convincingly. Practice on a door back first.
Can I Refinish Kitchen Cabinets Without Sanding Them?
- Degreasing. Skip this and nothing adheres, sanded or not. Kitchen grease is the #1 cause of cabinet paint failure.
- Removing hardware and doors. Painting around hinges and in place always looks DIY in the bad way.
- Repairing damage. Fill dents and chips with wood filler before painting — paint highlights flaws, doesn’t hide them.
- Quality paint. Cheap paint on cabinets chips within months. Cabinet enamel is non-negotiable.
- Cure time. The paint feels dry in hours but cures in weeks. Rehang doors carefully and avoid slamming during curing.
The This Old House cabinet painting guide covers the full professional process — worth reading even for the no-sand shortcut, so you understand what each step accomplishes.
When You Actually Must Sand
- Existing finish is peeling, flaking, or chipping — failed finish must come off
- Deep scratches or damage through the finish that filler alone won’t fix
- You want a stained (not painted) finish on bare wood — stain needs raw wood
- Wax buildup from years of polishing (deglosser may not cut through heavy wax)
Cost and Time Comparison
- No-sand refinish DIY: $150–$400 (deglosser, bonding primer, cabinet enamel, supplies) + 2–3 weekends of evenings
- Traditional sand + refinish DIY: $100–$300 in materials but 2–3x the labor
- Pro cabinet painting: $3,000–$8,000+ depending on kitchen size
- Pro refacing: $8,000–$15,000 (new door/drawer fronts, existing boxes)
The Degreasing Deep-Dive (Don’t Skip This)
Since you’re skipping sanding, degreasing carries the entire adhesion burden — and kitchen cabinets accumulate shocking amounts of airborne grease over years. The process: remove all hardware and doors, then wash every surface with TSP substitute (or a dedicated degreaser like Krud Kutter) using a scouring pad — not a soft cloth; you want mild abrasion. Rinse with clean water and let dry. Then do the fingernail test: drag a fingernail across the surface — if it leaves a waxy residue line, degrease again. Two passes is normal for cabinets near the stove. Only when the surface squeaks clean are you ready for deglosser. Every cabinet paint failure I’ve investigated traced back to this step being rushed. The sanding you’re skipping was partly doing degreasing’s job mechanically; without it, the chemical cleaning must be thorough.
Sprayer vs. Brush vs. Roller: Application Matters
Your application method affects the final look dramatically. HVLP sprayer ($80–$150 to buy, or rent): the pro finish — glass-smooth, no brush marks. Worth it for a full kitchen; the learning curve is one practice door. High-density foam roller + quality brush: the practical DIY combo — roll the flat areas, brush the details and edges, and lightly tip off rolled areas with the brush to eliminate stipple. Brush only: fine for small kitchens; use a premium angled sash brush and maintain a wet edge. Whichever method: thin coats (two thin beats one thick — thick cabinet paint sags, drips, and cures soft), and sand lightly between coats with 220-grit (this 10-minute step is what makes the finish feel professional). The final coat determines everything — make it count.
The Takeaway
Can you refinish kitchen cabinets without sanding them? Yes — if the existing finish is sound. Degrease obsessively, use liquid deglosser plus a bonding primer (or chalk/mineral paint), finish with quality cabinet enamel, and respect the cure time. You skip the worst labor and get 90% of the result.
Cabinet painting is the highest-ROI project in the kitchen — a few hundred dollars and some evenings transform the entire room. Kitchen updates continuing? Our cheapest kitchen updates and peel-and-stick backsplash guide keep the momentum going.