
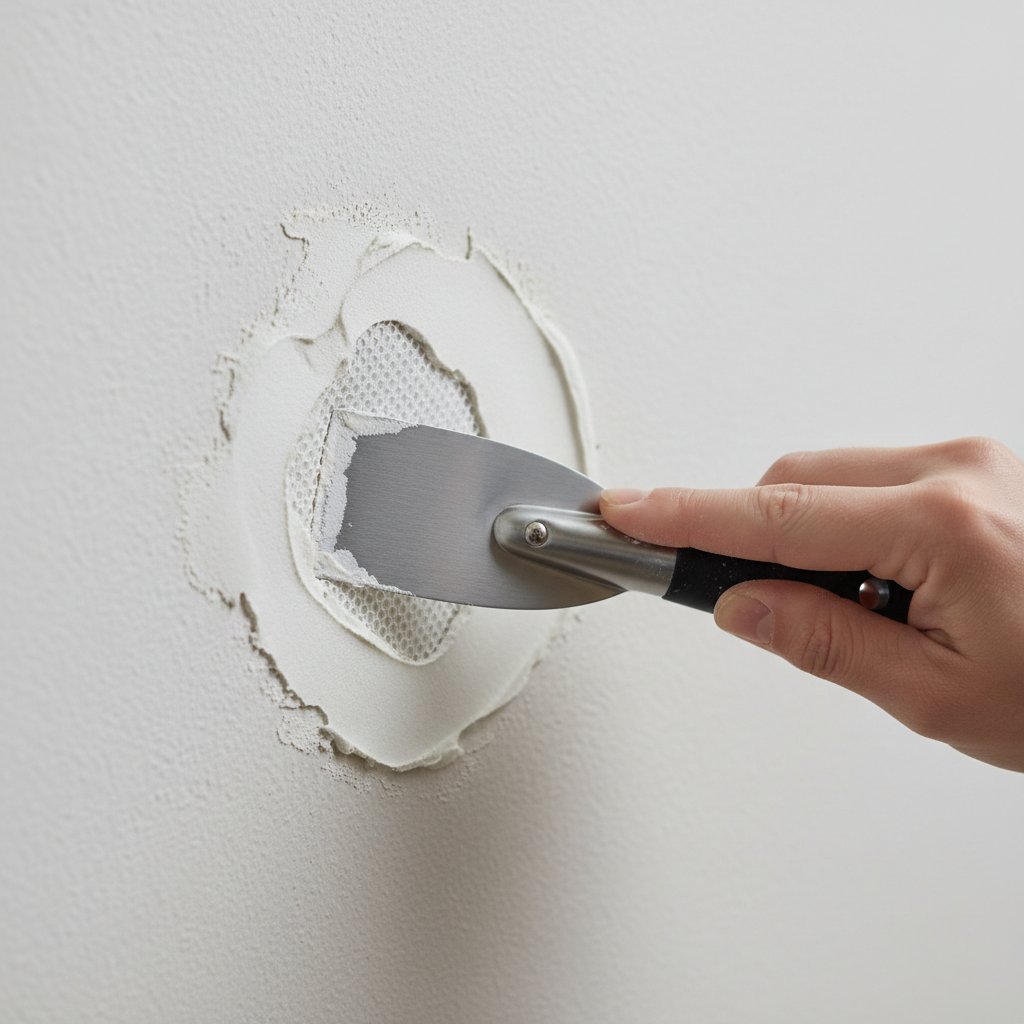
How Do I Patch a Hole in Drywall Like a Professional?
Doorknob through the wall. Rowdy kids. A shelf anchor that gave up. Drywall holes happen, and the difference between an amateur patch (visible forever) and a professional one (invisible) comes down to technique, not talent. If you’re asking how do I patch a hole in drywall like a professional, here’s the exact method the pros use — including the California patch trick that makes medium holes disappear.
What You’ll Need
- Joint compound (lightweight all-purpose — not spackle for big holes)
- Putty knives: 6″ and 10″ or 12″
- Self-adhesive mesh tape or paper tape
- For medium/large holes: a drywall scrap patch or a pre-made patch kit
- Utility knife and jab saw
- Sanding sponge (120–150 grit)
- Primer + matching paint
Total cost: $15–$30 if you own nothing. The pros’ secret isn’t expensive tools — it’s patience between coats.
Small Holes (Nail Holes, Anchors): 10 Minutes
- Push any protruding drywall paper flat with your putty knife handle.
- Press lightweight spackle into the hole with your finger or a 1.5″ putty knife.
- Scrape flush — the goal is compound in the hole, not on the wall.
- Let dry (30–60 min), sand lightly, touch up paint.
Don’t skip sanding. Un-sanded spackle blobs are how “I fixed it” becomes visible from across the room.
Medium Holes (2–6 Inches): The California Patch
This is the pro move for doorknob holes and similar damage. It needs no backing, no tape, and leaves no bump:
- Cut a square patch from scrap drywall, about 2″ larger than the hole on each side.
- Score the back of the patch: cut through the back paper and gypsum in a square the exact size of the hole, leaving the front paper intact with a 1″ border all around.
- Snap off the gypsum border, peeling it away so you’re left with the patch plus a 1″ flange of front paper.
- Trim the wall hole to a clean square/rectangle slightly smaller than your patch’s gypsum core.
- Test-fit the patch — the gypsum core should fit snugly in the hole with the paper flange overlapping the wall.
- Apply joint compound around the hole edges, press the patch in, and smooth the paper flange flat with compound over it — the flange is your tape.
- Feather two thin coats over the patch with a 10″ knife, letting each dry fully (the waiting is the hard part).
- Sand, prime, paint. Invisible.
The beauty of the California patch: no wood backing to install, no tape bump to feather out. The paper flange sits nearly flush, so the repair virtually disappears.
Large Holes (6+ Inches): Traditional Patch
- Cut the damaged area to a clean rectangle, exposing studs on at least two sides if possible.
- Screw wood backing strips (1×3 or plywood scraps) inside the hole edges for the patch to screw into.
- Cut a drywall piece to fit, screw it to the backing (screws every 6–8″).
- Tape all seams with mesh or paper tape embedded in joint compound.
- Three thin coats, each wider than the last, feathering 10–12″ beyond the patch. Thin coats dry faster and sand easier than one thick coat.
- Sand between coats, prime (joint compound is thirsty — unprimed patches flash through paint), then paint.
The Finishing Details That Separate Pro From Amateur
- Thin coats, always. Thick compound shrinks, cracks, and takes forever to dry. Three thin coats beat one thick coat every time.
- Feather wide. The wider you feather, the more invisible the repair. Pros feather 12″+ on each side of a patch.
- Sand with a light touch and a sanding sponge — you’re smoothing, not excavating.
- Prime before painting. Joint compound absorbs paint differently than drywall paper. Skip primer and the patch shows as a dull spot forever.
- Match the texture. If your walls have orange-peel or knockdown texture, a flat patch will show. Texture spray cans ($10–$15) match common textures — practice on cardboard first.
- Use a work light at an angle. Raking light across the wall reveals imperfections you’d miss head-on. Check your work this way before painting.
The This Old House drywall patching guide has excellent photos of each technique if you’re a visual learner.
Matching Texture: The Invisible Repair Secret
A perfectly flat patch on textured walls screams “repair here.” Match the texture: orange peel (the most common) — use a spray can of orange-peel texture, practicing on cardboard first to match droplet size; apply in light passes from 2+ feet away. Knockdown — spray heavier texture, wait 10–15 minutes, then lightly flatten with a wide drywall knife. Smooth walls — just sand carefully; no texture needed. Popcorn ceilings — use popcorn patch spray, and test for asbestos first in pre-1980 homes. The trick is restraint: multiple light passes beat one heavy blast. Step back and compare with surrounding wall between passes. Texture matching is 90% patience, 10% product.
How Do I Patch A Hole In Drywall Like A Professional?
DIY patching handles most holes, but call a pro for: ceiling repairs (gravity makes overhead mud work genuinely difficult — pros make it look easy because it isn’t), large areas (whole walls or rooms — the feathering and speed required favor experience), water-damaged drywall (the visible damage is often the tip; pros assess the full extent), and plaster walls (different material, different techniques — a drywall approach on plaster often fails). A pro charges $200–$500 for typical patch-and-paint repairs — worth it when the repair is in a highly visible spot and your first attempt would show.
The Takeaway
How do you patch a hole in drywall like a professional? Small holes: spackle, sand, paint. Medium holes: the California patch — paper-flanged, no backing needed. Large holes: wood backing, screwed patch, three feathered coats. Always: thin coats, wide feathering, sand between coats, prime before painting, match the texture.
The patience between coats is the real skill — pros wait, amateurs rush. Give each coat its full dry time and your patch will vanish. Wall work continuing? Our wallpaper removal guide and hanging shelves without studs pair well with fresh walls.