
How to Make Homemade Bread Without a Bread Machine
How Do I Make Homemade Bread Without a Bread Machine?
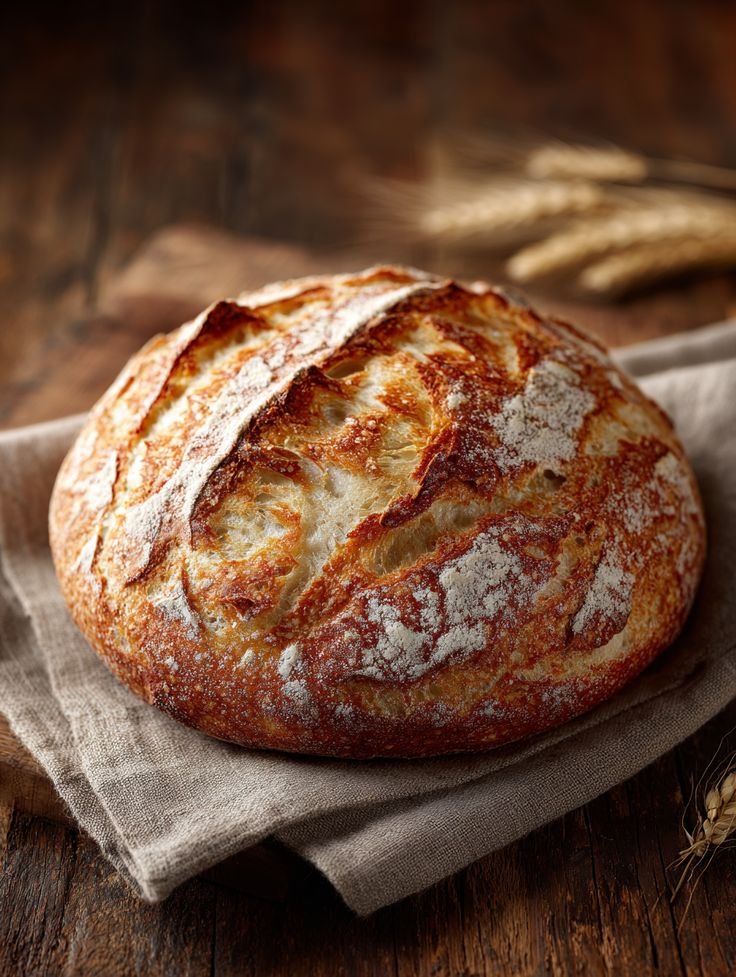
Fresh bread feels like it should require equipment — a bread machine, a stand mixer, some kind of expertise. So how do I make homemade bread without a bread machine? I made my first loaf during a power-outage-free weekend with nothing but a bowl, a wooden spoon, and a Dutch oven, and it came out with a crackling crust that made my kitchen smell like a bakery. The secret is the no-knead method: time does the work that kneading usually does. Four ingredients, five minutes of actual effort, and the best bread you’ve ever made at home.
Why No-Knead Works
Traditional bread needs kneading to develop gluten — the protein network that gives bread its structure. The no-knead method skips this by using a very wet dough and a long, slow fermentation (12–18 hours). Over those hours, the gluten develops on its own, and the slow ferment creates complex, slightly tangy flavors that quick breads can’t match. You’re trading five minutes of effort today for patience overnight. It’s the best trade in baking.
How Do I Make Homemade Bread Without a Bread Machine? The Recipe
Ingredients: 3 cups (400g) all-purpose or bread flour, 1½ teaspoons salt, ½ teaspoon instant yeast (yes, that’s all), 1½ cups lukewarm water.
Equipment: a large bowl, plastic wrap, and a Dutch oven or any heavy oven-safe pot with a lid. No Dutch oven? A baking sheet works — see the variation below.
- Mix (5 minutes, evening): Whisk flour, salt, and yeast in a large bowl. Add water and stir with a wooden spoon until you have a shaggy, sticky mess with no dry flour. That’s it — don’t knead, don’t fuss. Cover with plastic wrap.
- Wait (12–18 hours): Leave at room temperature. The dough will rise, get bubbly, and develop a slightly boozy smell. This is fermentation working. Longer is generally better, up to about 24 hours.
- Shape (5 minutes, next day): Scrape the dough onto a well-floured surface. With floured hands, fold it over on itself a few times to form a rough ball. Place seam-side down on parchment paper, cover with a towel, and rest 30–60 minutes while the oven preheats.
- Bake (45 minutes): Put your Dutch oven (with lid) in the oven and preheat to 450°F for at least 30 minutes. Carefully lower the dough (on its parchment) into the screaming-hot pot, cover, and bake 30 minutes. Remove the lid and bake 15 more minutes until deeply golden.
- Cool (the hard part): Wait at least 30 minutes before slicing. Cutting early lets steam escape and makes the crumb gummy. Listen for the crackle as the crust cools — that’s the sound of success.
Why the Dutch Oven Matters
The lidded pot traps steam from the dough during the first half of baking. That steam keeps the crust soft initially so the loaf can expand fully (oven spring), then the uncovered finish crisps it into that bakery-style crackle. It’s the home baker’s steam-injection oven, and it’s why this method outperforms bread machines for crusty loaves.
No Dutch Oven? No Problem
Shape the dough on a parchment-lined baking sheet, and place a metal pan on the oven’s bottom rack while preheating. When you load the bread, pour a cup of hot water into the pan and quickly close the door. The burst of steam approximates the Dutch oven effect. The crust won’t be quite as dramatic, but the bread will still be excellent.
Troubleshooting
- Dense, heavy loaf: usually under-fermented. Give it more time, or check that your yeast isn’t expired.
- Flat and spread out: the dough was too wet or over-fermented. Use a touch less water next time, and shape with confident folds.
- Pale, soft crust: bake longer uncovered, or your oven runs cool — an oven thermometer is a cheap fix.
- Sticks to everything: flour your hands, the surface, and the dough generously. Wet dough is supposed to be sticky; flour is your friend.
Beyond the Basic Loaf
Once the basic loaf works, the variations are endless: fold in rosemary and sea salt, add a cup of shredded cheddar and jalapeños, swap a cup of flour for whole wheat, or stir in olives and herbs. The method doesn’t change — only the mix-ins. Fresh bread also pairs perfectly with homemade pasta sauce for the ultimate comfort dinner.
For the science of fermentation, the bread article on Wikipedia is comprehensive, and King Arthur Baking offers excellent no-knead variations.
Leveling Up: From Basic Loaf to Baker
Once the no-knead loaf is second nature, these next steps build real baking skill. Learn baker’s percentages: flour is always 100%, and everything else is a percentage of the flour weight. A 70% hydration dough (700g water per 1000g flour) behaves predictably once you know the number — recipes become formulas you can adjust. A kitchen scale ($10) is the tool that unlocks this; volume measurements are too inconsistent for serious bread.
Try enriched doughs: add milk, butter, eggs, or sugar for soft sandwich bread, brioche-style rolls, or cinnamon swirl bread. The method barely changes — the ingredients do. Experiment with flours: swap 20–30% of the white flour for whole wheat, rye, or spelt for deeper flavor and better nutrition. Go slowly — whole grains absorb more water and ferment faster.
Score with confidence: a sharp slash on top isn’t decoration — it controls where the loaf expands, preventing blowouts. A serrated knife works; a $5 lame (baker’s blade) works better. And if you catch the baking bug, our fluffy pancake guide is the perfect low-stakes weekend project to practice your flour skills between loaves.
You’ve Got This
A final pep talk: your first loaf might be lopsided, your second might stick, and your third will make you feel like a wizard. Bread baking has a learning curve measured in loaves, not years — most people nail it by attempt three or four. Every “failure” is still edible (toast covers many sins), and each bake teaches your hands something your eyes can’t learn from reading. Start this weekend. Mix the dough tonight, bake tomorrow morning, and experience the particular pride of slicing into a crackling loaf you made from flour, water, salt, and patience. There is no going back — and you won’t want to.
The Takeaway
Flour, water, salt, a pinch of yeast, and patience. Mix tonight, bake tomorrow, and you’ll wonder why you ever thought bread required a machine. Your kitchen will smell incredible, and store-bought bread will never quite satisfy you again. Sorry in advance.