
Can I Install a Ceiling Fan Myself or Do I Need an Electrician?
A ceiling fan is one of the best comfort upgrades in a home — it can make a room feel 4–8 degrees cooler and cut air conditioning costs significantly. But it involves wiring, ladders, and a heavy object spinning over your head, so the question can I install a ceiling fan myself or do I need an electrician deserves a serious answer. Here’s the honest breakdown: many homeowners can DIY this safely, but only if specific conditions are met.
The Short Answer
You can DIY if: you’re replacing an existing light fixture with a fan, the existing electrical box is fan-rated (or you’re willing to install one), and you’re comfortable with basic wiring (matching black-to-black, white-to-white, ground-to-ground). You need an electrician if: there’s no existing wiring where you want the fan, the box isn’t fan-rated and you can’t safely replace it, your home has old or aluminum wiring, or anything about the project makes you nervous. Electricity rewards respect and punishes guesswork.
The Critical Safety Item: The Electrical Box
This is the thing most DIY guides underplay. A ceiling fan vibrates and weighs 15–50 lbs — far more than a light fixture. It must mount to a fan-rated electrical box, which is braced to handle the weight and motion. A standard light-fixture box will eventually work loose, and a falling fan is genuinely dangerous.
- Check the existing box: fan-rated boxes are usually marked “acceptable for fan support” and are secured to a joist or brace, not just nailed to drywall.
- If it’s not fan-rated: you can install a retrofit fan brace box from below (about $20–$30) — it expands between joists through the existing ceiling hole. This is very DIY-able.
- If there’s no box at all (new location, no existing fixture): this usually means running new wire through walls and ceilings. That’s electrician territory for most people.
What the DIY Installation Actually Involves
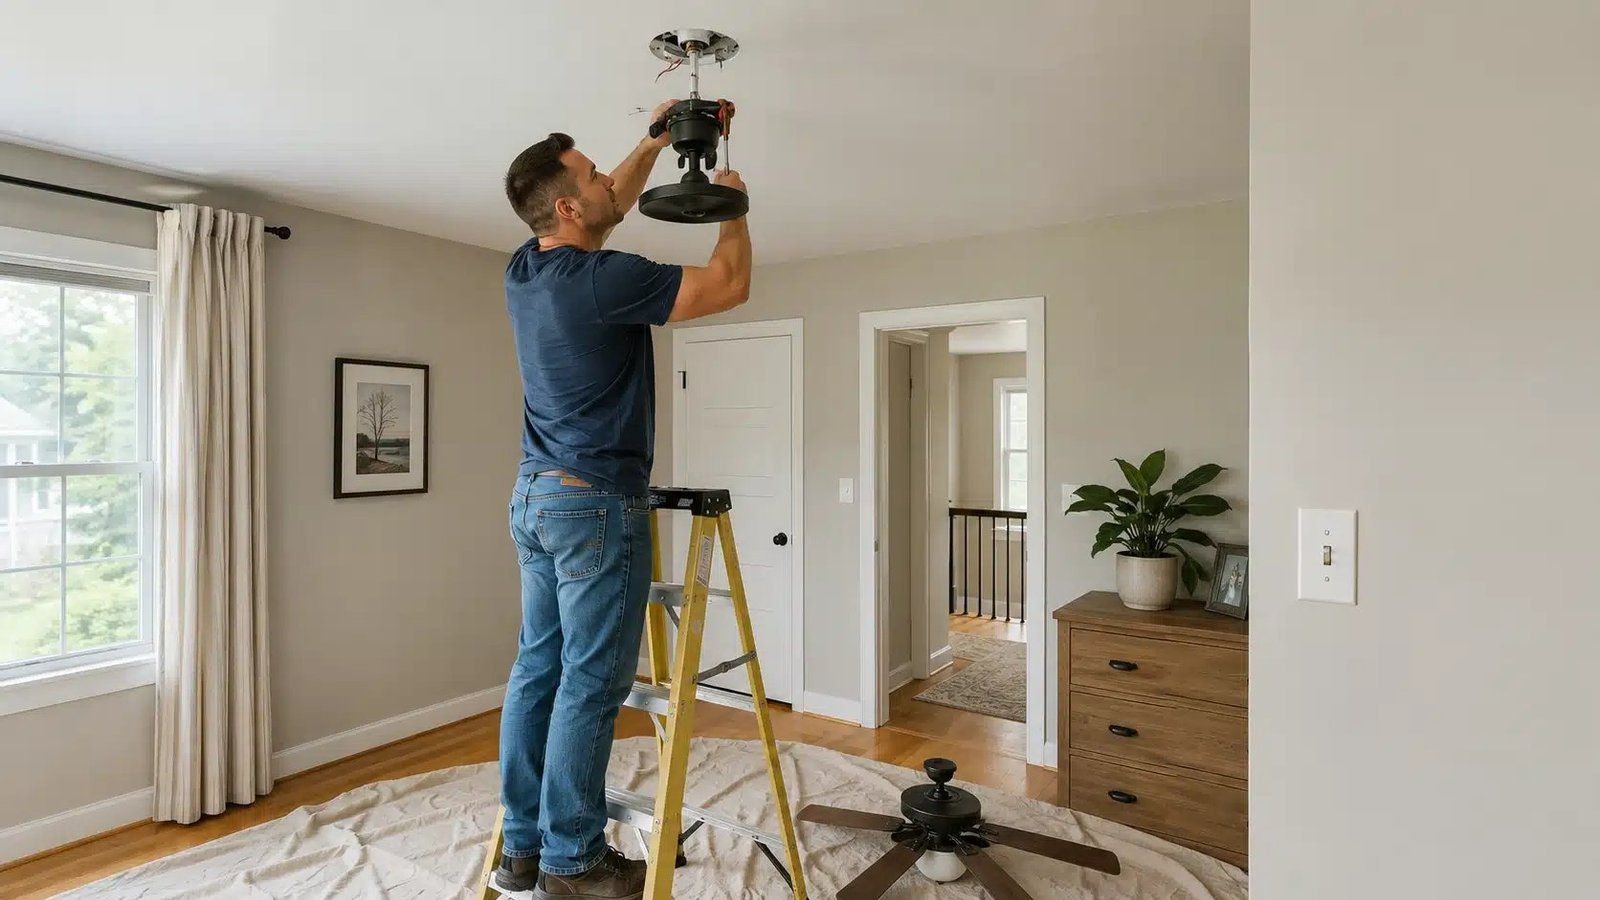
Replacing an existing light fixture with a fan, start to finish:
- Turn off power at the breaker — not just the wall switch. Test with a non-contact voltage tester ($15, worth owning). This step is non-negotiable.
- Remove the old fixture and inspect the box. Confirm it’s fan-rated or install a retrofit brace.
- Assemble the fan on the ground first — attach blades to the motor housing before lifting anything. Read the manual; every fan is slightly different.
- Hang the motor from the mounting bracket. Most fans have a hook or cradle that holds the motor while you wire — use it.
- Connect wires: black to black (hot), white to white (neutral), green/bare to green/bare (ground). If there’s a separate blue wire (for the light kit), it connects to black too. Use the included wire nuts and tug-test each connection.
- Tuck wires in, attach the canopy cover, install blades and light kit.
- Restore power and test on all speeds. If it wobbles, use the included balancing kit.
Total time for a first-timer: 2–4 hours. The Department of Energy’s ceiling fan guidance covers sizing and efficiency — match fan size to room size (36″ for small rooms, 52″+ for large ones) for best results.
Can I Install A Ceiling Fan Myself Or Do I Need An Electrician?
- No existing wiring at the fan location — running new circuits through finished walls/ceilings
- Old wiring (knob-and-tube, cloth-insulated, or aluminum) — these need professional evaluation
- You want a new wall switch or separate fan/light controls wired in
- High or vaulted ceilings requiring special downrods, or installations over 12 feet up
- Outdoor or damp-rated installations with additional code requirements
- Anything you’re unsure about. If you’re guessing about wiring, stop and call someone. This is the rule that prevents fires.
Electrician cost for a fan installation: $150–$350 for a straightforward swap onto existing wiring, $300–$600+ if new wiring is needed. Compare that to the DIY cost of just the fan ($80–$300) plus a $25 brace box.
Common DIY Mistakes
- Skipping the fan-rated box. The #1 dangerous mistake. Standard boxes fail over time under fan vibration.
- Not turning off the right breaker. Test, don’t assume. Some rooms have multiple circuits.
- Loose wire nuts. Tug-test every connection. Loose connections arc, overheat, and cause fires.
- Wrong fan size. Too small and it does nothing; check the DOE sizing guidance.
- Ignoring the wobble. A wobbling fan loosens its mount over time. Balance it on day one.
- Forgetting the seasonal switch. Fans have a direction switch: counterclockwise in summer (downdraft cooling), clockwise in winter (updraft, redistributing warm air). Flip it twice a year.
Choosing the Right Fan: Size and Features
Fan size should match room size: 29–36 inches for rooms up to 75 sq ft (bathrooms, small bedrooms), 42–48 inches for up to 175 sq ft (bedrooms, offices), 52–60 inches for up to 350 sq ft (living rooms, great rooms). Bigger rooms need multiple fans or one 60+ inch model. Blade pitch matters too — look for 12–15 degrees; flatter blades move noticeably less air. For bedrooms, prioritize quiet motors (DC motors are quieter and more efficient than AC) and a remote control — you’ll use it daily. Damp-rated fans are required for covered porches; wet-rated for exposed locations. And check the downrod length: on 8-foot ceilings you want a flush or short downrod; on 9+ foot ceilings, longer downrods keep the fan in the optimal 7–9 feet above the floor.
The Takeaway
Can you install a ceiling fan yourself or do you need an electrician? If you’re swapping an existing fixture onto a fan-rated box (or installing a retrofit brace), DIY is very reasonable — 2–4 hours, basic tools, careful attention to the breaker. If new wiring is needed or anything looks old or sketchy, hire the electrician. The $200 service call is cheap compared to an electrical fire.
Either way, a ceiling fan is one of the smartest comfort investments in a home — especially paired with a smart thermostat. Speaking of which, our smart thermostat guide and electrical outlet safety guide cover the next steps in home comfort and electrical DIY.