
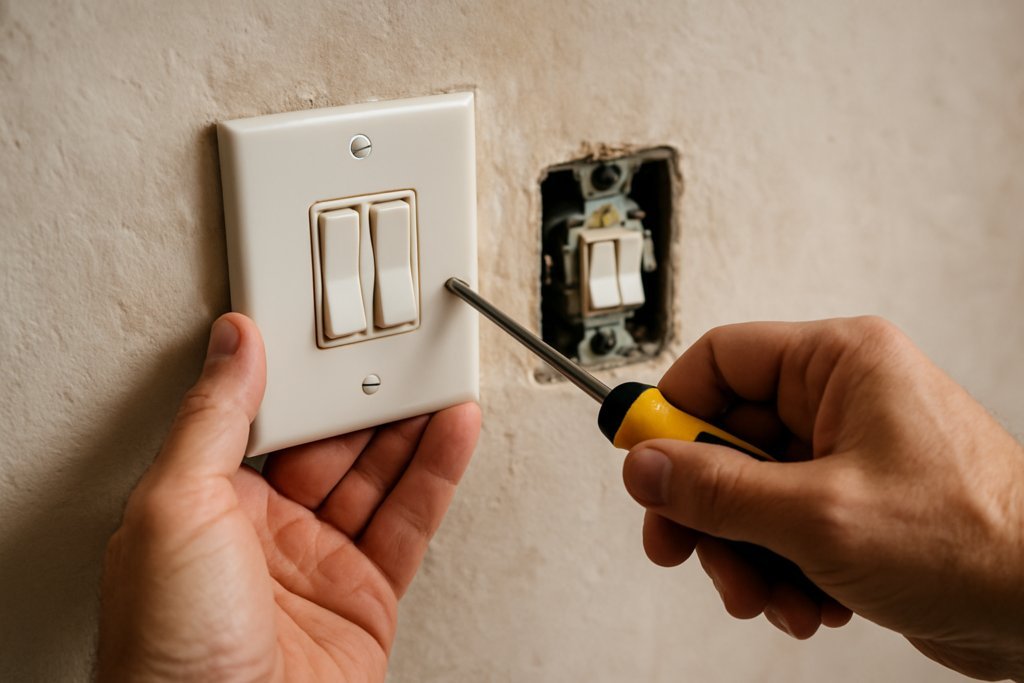
How Do I Replace a Broken Light Switch Safely?
A light switch that crackles, feels hot, works intermittently, or just stopped working isn’t just annoying — it can be a fire hazard. The good news: if you’re asking how do I replace a broken light switch safely, this is one of the most beginner-friendly electrical jobs in a home. Fifteen minutes, a $3 switch, and strict respect for the breaker.
How Do I Replace A Broken Light Switch Safely?
- Turn off the breaker — not just the wall switch. The switch only interrupts the hot wire; the box can still be live.
- Test with a non-contact voltage tester ($12–$18) before touching anything. Test the tester on a known-live outlet first, then confirm the switch box is dead.
- Never work with wet hands or standing in water.
- If you see aluminum wiring (silver-colored instead of copper), stop. Aluminum wiring needs special handling — this becomes an electrician job.
- Take a photo of the existing wiring before disconnecting anything. This is your map home.
Electricity is unforgiving of assumptions. The Electrical Safety Foundation International reports thousands of home electrical injuries yearly — nearly all preventable with basic precautions. The breaker + tester combo is the whole safety system. Use both, every time.
What You’ll Need
- Replacement switch ($3–$8 for standard; $15–$30 for dimmer or smart switch)
- Non-contact voltage tester
- Flathead and Phillips screwdrivers
- Wire strippers (if wires need trimming)
- Electrical tape (optional, for wrapping terminals)
Match the switch type: single-pole (one switch controls the light — two terminals plus ground) is the most common. Three-way (two switches control one light — three terminals plus ground) needs a three-way replacement. Buy the wrong type and it won’t work.
Step-by-Step Replacement
- Kill the power at the breaker. Flip the breaker for that circuit. If you’re not sure which, flip breakers until the light goes off — then tape the breaker in the off position and tell everyone in the house not to touch it.
- Verify dead. Remove the cover plate, then hold the non-contact tester near each wire. No beep, no light = safe. Also try the switch — the light should be off.
- Pull out the old switch. Unscrew the mounting screws and gently pull the switch from the box, wires attached.
- Photograph and note the wiring. Standard single-pole: black (hot) wires on the two brass/dark terminals, bare copper or green wire on the green ground screw. Note which wire went where — on a basic single-pole it doesn’t matter functionally, but matching exactly is safest.
- Disconnect the old switch. Loosen terminal screws and free the wires. If wires are backstabbed (pushed into holes in the back), there’s a small release slot — or just cut and re-strip. Pro tip: use the screw terminals on the new switch, not the backstab holes. Backstabs loosen over time and cause the exact failures you’re fixing.
- Connect the new switch. Loop wires clockwise around terminal screws (so tightening pulls the wire in, not out) and tighten firmly. Ground wire to the green screw.
- Fold wires in gently and push the switch into the box. Don’t force — if it’s crowded, rearrange the wire folds.
- Screw in the switch, attach the cover plate, restore power. Test the switch several times.
When to Call an Electrician Instead
- Aluminum wiring — needs special connectors and expertise
- Burn marks, melted insulation, or a burning smell in the box — indicates a bigger problem than the switch
- Multiple switches/gang boxes with complex wiring you’re unsure about
- No ground wire present in very old wiring — an electrician should evaluate
- The breaker trips when you restore power — something’s wrong; don’t keep resetting it
- You feel unsure at any point. This is always a valid reason. A $150 service call beats an electrical fire.
Upgrading While You’re at It
Since you’re already in the box, consider: a dimmer switch ($15–$25, verify bulb compatibility — LEDs need LED-rated dimmers), a smart switch ($25–$50, check for neutral wire requirement — many smart switches need one), or simply decora-style rocker switches to modernize the look. The labor is identical; only the part changes. Our smart thermostat guide covers the next step in home smartening.
Three-Way Switches: What Changes
If two switches control one light (hallways, staircases), you’re dealing with three-way switches — and the wiring is more complex. Each switch has three terminals: one dark-colored common terminal and two brass traveler terminals. The critical rule: the wire on the common terminal must go back on the common terminal of the new switch. Mark it with tape before disconnecting anything — travelers can swap positions harmlessly, but misplacing the common breaks the circuit logic. Photograph from multiple angles. If the box contains a bundle of wires that doesn’t match the standard pattern (common in older homes with creative wiring), stop and call an electrician. Three-way circuits are the #1 “simple switch swap” that turns into a troubleshooting nightmare.
Smart Switches: Worth the Upgrade?
Since you’re already replacing the switch, smart switches ($25–$50) deserve consideration — with caveats. Pros: app/voice control, scheduling, vacation-mode randomization (security), energy monitoring on some models. Cons: most require a neutral wire in the box (many older homes lack one — check before buying; no-neutral options exist but cost more), they need 2.4GHz Wi-Fi, and they add a point of tech failure. For frequently-used lights (porch, living room, bedroom), the convenience is real. For a closet light, it’s overkill. If your home lacks neutral wires throughout, budget for an electrician rather than fighting it — or stick with excellent dumb switches, which never need firmware updates.
The Takeaway
How do you replace a broken light switch safely? Breaker off, tester-verified dead, photo the wiring, swap wire-for-wire onto the new switch using screw terminals (never backstabs), and restore power. Fifteen minutes, under $10, and a switch that works like new.
The safety ritual — breaker plus tester, every single time — is what makes this a beginner job instead of a dangerous one. Respect the electricity and it’s straightforward. More electrical confidence? See whether it’s safe to replace your own outlets and the ceiling fan installation guide.