
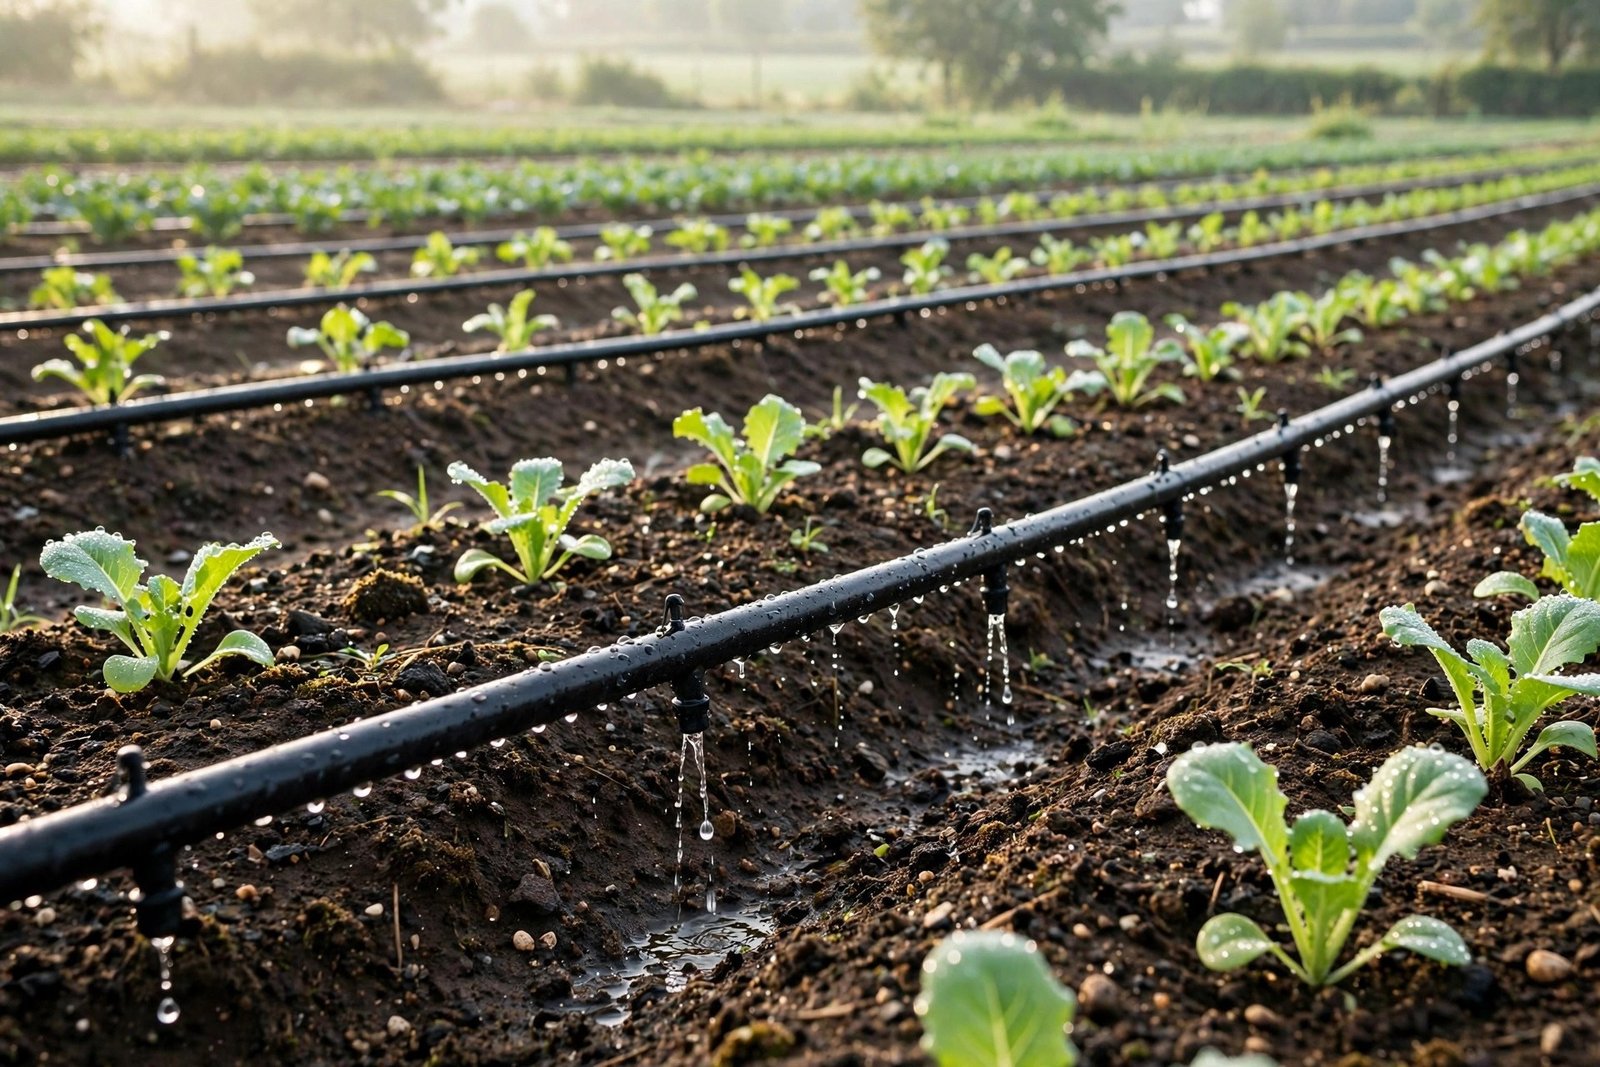
Drip irrigation is the single highest-impact upgrade most gardens can get: it cuts water use by 30–50% compared to sprinklers, delivers water exactly where roots need it, reduces weeds and disease, and — once installed — waters your garden while you sleep. The best part? A basic system for a typical home garden costs under $100 and installs in a weekend with no special skills.
This guide covers everything: the parts you need, how to plan your layout, step-by-step installation, and the maintenance that keeps it running for years.
How Drip Irrigation Works (and Why It Is Better)
A drip system delivers water slowly through emitters — tiny outlets that drip 0.5 to 4 gallons per hour directly at each plant’s root zone. Because water goes into the soil rather than through the air, evaporation losses nearly vanish; because foliage stays dry, fungal diseases plummet; because only the planted areas get wet, weeds between plants starve.
The efficiency numbers are striking: drip systems operate at 90%+ efficiency versus 50–65% for sprinklers. For a vegetable garden, that means healthier plants on half the water — and a noticeably lower water bill. The EPA’s WaterSense program recognizes drip as a cornerstone of efficient landscaping, and many water utilities offer rebates on drip conversion parts.
The Parts List: Everything Under $100
For a typical 200-square-foot garden, you need: a backflow preventer ($8–$12 — required by code, keeps garden water out of your drinking supply), a pressure regulator ($8–$12 — house pressure will blow drip fittings apart without one), a filter ($10–$15 — emitters clog without it), ½-inch mainline tubing (100 ft, ~$25), ¼-inch emitter tubing or individual emitters (~$15–$20), fittings (tees, elbows, end caps — $10), stakes to hold tubing ($5), and a hose-thread adapter to connect to your spigot ($5).
Buy a starter kit ($35–$60) if decision fatigue threatens — kits include compatible parts and eliminate guesswork. Add a battery timer ($25–$40) and the system runs itself; this is the upgrade that turns drip from convenient to life-changing. Total with timer: still under $100 for most gardens. The Irrigation Association offers free homeowner guides on component selection if you want to go deeper.
Emitter types, decoded
Drip emitters (individual, punch-in) suit trees and widely spaced plants — place 2–4 around each. Emitter tubing (built-in emitters every 6–12 inches) suits rows of vegetables and dense plantings. Soaker hose is cheapest but least uniform — fine for hedges, not for precision. Micro-sprayers bridge drip and sprinklers for groundcovers. Match the emitter to the planting, not the other way around.
Planning Your Layout
Sketch your garden on paper first — every minute of planning saves ten of rework. Mark your water source, then draw the mainline route minimizing length and crossings. Plan zones by water need: vegetables on one zone, established shrubs on another, containers on a third. Different plants need different schedules, and zoning is how you deliver them.
Size emitters to plants: a tomato wants 2–4 gallons per hour total; a lavender wants far less. In practice, this means more emitters (or higher-flow ones) on thirsty plants. Keep runs under 200 feet for ½-inch mainline to maintain even pressure, and always plan for expansion — leave capped tees where future beds might go. If this is part of a bigger garden refresh, pair the project with low-maintenance landscaping ideas for beginners so the whole yard gets easier at once.
Installation: A Weekend Project
Day 1 morning: Connect the backflow preventer, filter, pressure regulator, and timer to your spigot in that order (water flows: spigot → backflow → filter → regulator → timer → tubing). Lay out the mainline tubing along your planned route, staking it loosely. Day 1 afternoon: Cut tubing with scissors or a tubing cutter, insert tees and elbows, run ¼-inch lines to individual plants, and punch in emitters.
Day 2: Cap the line ends, turn on the water, and walk the system checking every emitter — adjust, unclog, or reposition as needed. Then cover tubing with 2–3 inches of mulch (UV protection doubles tubing life, and mulch hides the works). Bury nothing deep — drip components need to stay accessible for maintenance. The whole job needs only scissors, a hole punch tool (often included in kits), and stakes. No trenching, no plumbing skills, no permits for a hose-connected system.
The number-one beginner mistake
Skipping the pressure regulator. House water pressure (40–80 PSI) destroys drip fittings rated for 25 PSI — without a regulator, you will spend your first week replacing blown-apart connections and wondering why the system “does not work.” The $10 regulator is the most important part in the entire system.
Watering Schedules and Maintenance
Drip changes how you think about watering: deep and infrequent beats daily sprinkles. New transplants: short daily runs for 2 weeks. Established vegetables: 2–3 deep waterings per week in summer (45–90 minutes depending on emitter flow). Established natives and shrubs: weekly or less. Adjust seasonally — most timers make this a 30-second change.
Maintenance is minimal but non-negotiable: flush the lines twice a year (open end caps, run water 2 minutes), check the filter monthly in hard-water areas, inspect emitters each spring (punch out clogs or replace $0.30 emitters), and winterize in freezing climates (drain lines or blow out with a compressor). Pair efficient watering with rich soil — start composting at home and your drip-fed plants will explode with growth in soil that holds every precious drop.
Conclusion
A cheap drip irrigation system — under $100, one weekend, no special skills — is the best money most gardeners will ever spend: half the water, healthier plants, fewer weeds, and automated watering that frees your time. Plan on paper, do not skip the pressure regulator, zone by water need, and maintain twice a year. Your garden (and your water bill) will thank you for a decade.
Frequently Asked Questions
How much does a DIY drip irrigation system cost?
A basic system for a typical home garden costs $50–$100 in parts, plus $25–$40 for a battery timer. Starter kits ($35–$60) bundle compatible components. Larger or multi-zone systems scale up proportionally but remain far cheaper than professionally installed sprinklers.
Can I connect drip irrigation to a regular hose spigot?
Yes — most home systems run off a standard spigot with a hose-thread adapter. You need a backflow preventer (code requirement), filter, and pressure regulator between the spigot and the tubing. No plumber, trenching, or permits required for hose-connected systems.
How long should I run drip irrigation?
It depends on emitter flow rates and plants, but established vegetables typically need 45–90 minutes 2–3 times per week in summer. The goal is deep soil moisture 6–12 inches down. A moisture meter or simple screwdriver test (pushes easily into moist soil) tells you when you have watered enough.
Do drip emitters clog?
They can, especially with hard water or unfiltered sources — which is why the filter is mandatory, not optional. Annual flushing and spring emitter checks prevent 95% of problems. Individual emitters cost pennies to replace when they do clog.
Is drip irrigation worth it for a small garden?
Absolutely — small gardens benefit the most per dollar, since a $60 kit can cover several raised beds. The water savings, disease reduction, and time savings (no hand-watering) pay back within a single growing season.