
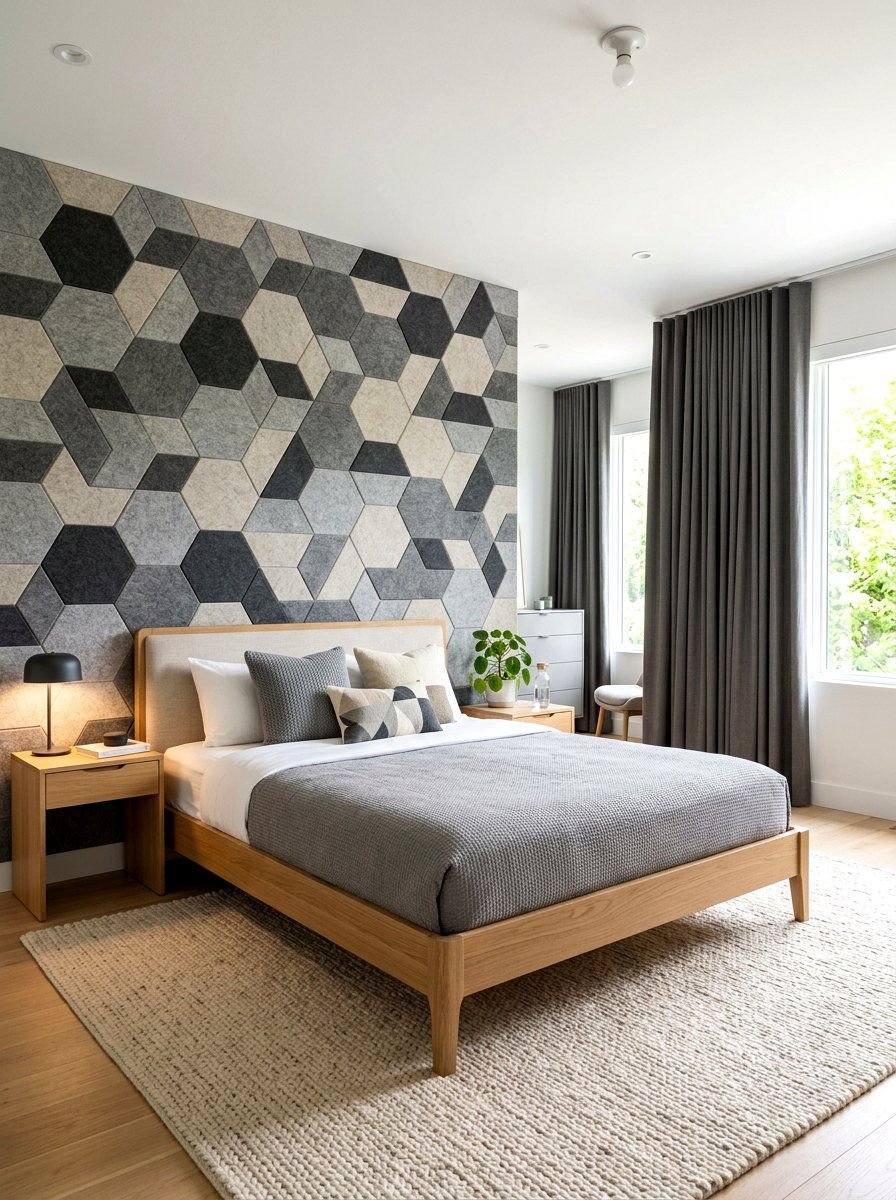
How Do I Soundproof a Bedroom Wall Cheaply?
Thin walls are the enemy of sleep, concentration, and neighborly relations. Whether it’s traffic, a neighbor’s TV, or a snoring-adjacent teenager, noise through bedroom walls ruins rest. If you’re asking how do I soundproof a bedroom wall cheaply, here’s the reality check first: true soundproofing (blocking sound transmission) is construction work. But dramatic noise reduction — 50–70% less perceived noise — is absolutely achievable on a budget.
How Do I Soundproof A Bedroom Wall Cheaply?
Sound travels through walls two ways: airborne (voices, TV, music — traveling through air gaps and vibrating the wall) and structure-borne (footsteps, bass — vibrating through the building frame). Cheap fixes work best on airborne noise; bass and impact noise are much harder to tame without construction. Set expectations: you’ll make the bedroom much quieter, not silent.
The physics in one sentence: sound blocking needs mass, airtightness, and decoupling. Every cheap fix below adds one or more of these.
The Cheap Fixes, Ranked by Impact
1. Seal every air gap ($10–$30)
Sound is lazy — it takes the easiest path, which is air gaps, not the wall itself. Seal ruthlessly:
- Acoustic caulk ($8–$12/tube) around the wall perimeter, outlet boxes, and any penetrations. Stays flexible — regular caulk cracks and reopens gaps.
- Outlet gaskets behind cover plates on the noisy wall.
- Door seals: the gap under the bedroom door is often the biggest sound leak in the room. A door sweep + perimeter weatherstripping ($20–$40) can outperform wall treatments.
2. Add mass with mass-loaded vinyl ($100–$250/wall)
MLV (mass-loaded vinyl) is the best bang-for-buck sound blocker: thin (1/8″), heavy (1 lb/sq ft), flexible sheets you hang on the wall like wallpaper, then cover with fabric or a second drywall layer. It adds significant mass without construction. A 4×25 ft roll (~$100–$150) covers a typical bedroom wall.
3. Bookshelves and furniture ($0–$100)
A fully loaded bookshelf against the noisy wall is genuinely effective — books are dense mass, and the irregular surface scatters sound. It’s the oldest soundproofing trick because it works. Floor-to-ceiling coverage matters; a half-empty shelf does little.
4. Heavy curtains and wall hangings ($50–$150)
Thick moving blankets, heavy tapestries, or acoustic curtains on the noisy wall add mass and absorb reflections. They won’t block bass, but they take the edge off voices and TV. Layer: MLV + heavy curtain = serious improvement.
5. Acoustic panels for echo ($50–$150)
Foam or fabric-wrapped fiberglass panels absorb reflections inside the room — they reduce echo and make the room quieter-feeling, but they don’t block sound coming through the wall. Great complement to blocking measures, useless alone for transmission. Don’t confuse absorption with blocking.
What About White Noise?
The cheapest “soundproofing” isn’t proofing at all — it’s masking. A white noise machine ($30–$50) or even a fan raises the room’s noise floor so intruding sounds don’t spike above it. Your brain stops noticing the neighbor’s TV when it’s buried under consistent sound. Combine masking with the physical fixes above and most people sleep fine. It’s not elegant physics, but it works on human brains, which is what matters.
The Step-Up Options (Still Affordable)
- Second layer of drywall with Green Glue ($200–$400/wall): the classic DIY soundproofing upgrade. Green Glue damping compound between two drywall layers converts sound vibration to heat. Very effective for the money, but it’s a weekend project with dust.
- Resilient channel + new drywall ($300–$500/wall): decouples the drywall from studs — addresses structure-borne sound too. More work, bigger payoff.
The soundproofing principles on Wikipedia cover the physics if you want to go deeper before spending.
What Won’t Work (Save Your Money)
- Egg cartons. The myth that won’t die. They do essentially nothing.
- Thin foam “soundproofing” tiles alone. Absorption ≠ blocking. They help echo, not transmission.
- Painting with “soundproof paint.” Marketing, not physics.
- Rugs on the wall (thin ones) — negligible mass, negligible effect. Heavy moving blankets, yes; decorative thin rugs, no.
Renters: What’s Actually Possible
Renting doesn’t mean suffering noise — it means reversible solutions. Your toolkit: heavy blackout curtains over windows (also block light — double win), large bookshelves loaded with books against the noisy wall (free if you own books, and you take them when you leave), draft-stopping door seals (removable adhesive types, no damage), thick area rugs with dense pads (helps with downstairs neighbors and room echo), white noise machine ($30–$50, moves with you), and acoustic blankets hung with removable hooks (moving blankets are ugly but effective; cover with a decorative wall hanging). Talk to your landlord about bigger fixes — many will split the cost of door seals or allow MLV installation since it improves the unit. And document noise issues in writing; persistent unreasonable noise may violate your lease’s quiet-enjoyment clause or local ordinances.
Measure Before and After (It’s Satisfying)
Free sound meter apps (NIOSH SLM on iOS is the gold standard — developed by the CDC’s occupational safety institute; Android has several decent options) let you quantify your problem and your progress. How to measure: place the phone in your usual sleeping spot, measure for 5 minutes during the noisy period, note the average dB. Then measure again after each fix. Typical results: sealing gaps drops 3–5 dB, adding MLV drops another 5–10 dB, white noise masking makes the perceived improvement even larger. Context: 30 dB is a whisper-quiet bedroom; 40 dB is a quiet library; 50 dB is moderate rainfall. Every 10 dB reduction sounds roughly half as loud to human ears — so a 10 dB improvement is transformative, not incremental. Measuring turns “I think it’s better” into proof.
Bedroom upgrades often go together — if you’re tackling the walls, you might also like our walkthrough on installing a ceiling fan yourself for better airflow and gentle white noise.
The Takeaway
How do you soundproof a bedroom wall cheaply? Seal air gaps first (acoustic caulk + door seals, ~$30), add mass with MLV or a loaded bookshelf ($0–$150), hang heavy curtains, and mask the rest with white noise ($40). Total: $70–$250 for a dramatically quieter bedroom.
Start with the door seals and gap sealing — they’re the cheapest and often the most impactful, because sound cheats through gaps first. Sleep improving already? Our squeaky floorboard fixes silence the other bedroom noise source.