
What Is the Best Way to Season a Cast Iron Skillet?
What Is the Best Way to Season a Cast Iron Skillet?
If you’ve ever wondered what is the best way to season a cast iron skillet, you’re not alone. I inherited my grandmother’s skillet years ago, and it arrived looking more like a rusty relic than a cooking tool. After a lot of trial and error — including one memorable batch of eggs that welded themselves to the pan — I landed on a method that actually works and doesn’t require any fancy equipment. Seasoning sounds intimidating, but it’s really just baking thin layers of oil onto the iron until they harden into a natural nonstick surface.
Before we get into the steps, let’s clear up what seasoning actually is. It’s not flavoring. It’s a layer of polymerized oil — oil that’s been heated past its smoke point until it bonds to the iron. Do it right, and you get a dark, semi-glossy surface that releases food and shrugs off rust. Do it wrong, and you get a sticky, gummy mess. The difference almost always comes down to one thing: how much oil you use.
What Is the Best Way to Season a Cast Iron Skillet? A Step-by-Step Method
Here’s the oven method I use every time. It takes about two hours, most of it hands-off, and it works on new pans, thrift-store finds, and rusty heirlooms alike.
1. Scrub the pan clean first
Wash the skillet with hot water and a stiff brush. If there’s rust, don’t panic — scrub it with coarse salt and a halved potato (the potato gives you grip, the salt acts as an abrasive), or use steel wool for stubborn spots. A little dish soap is fine for this one-time deep clean; the old “never use soap” rule matters for daily care, not for a pan you’re about to re-season from scratch. Dry it completely, then put it on a warm burner for a few minutes to evaporate every last drop of moisture. Water is the enemy here.
2. Apply a very thin coat of oil
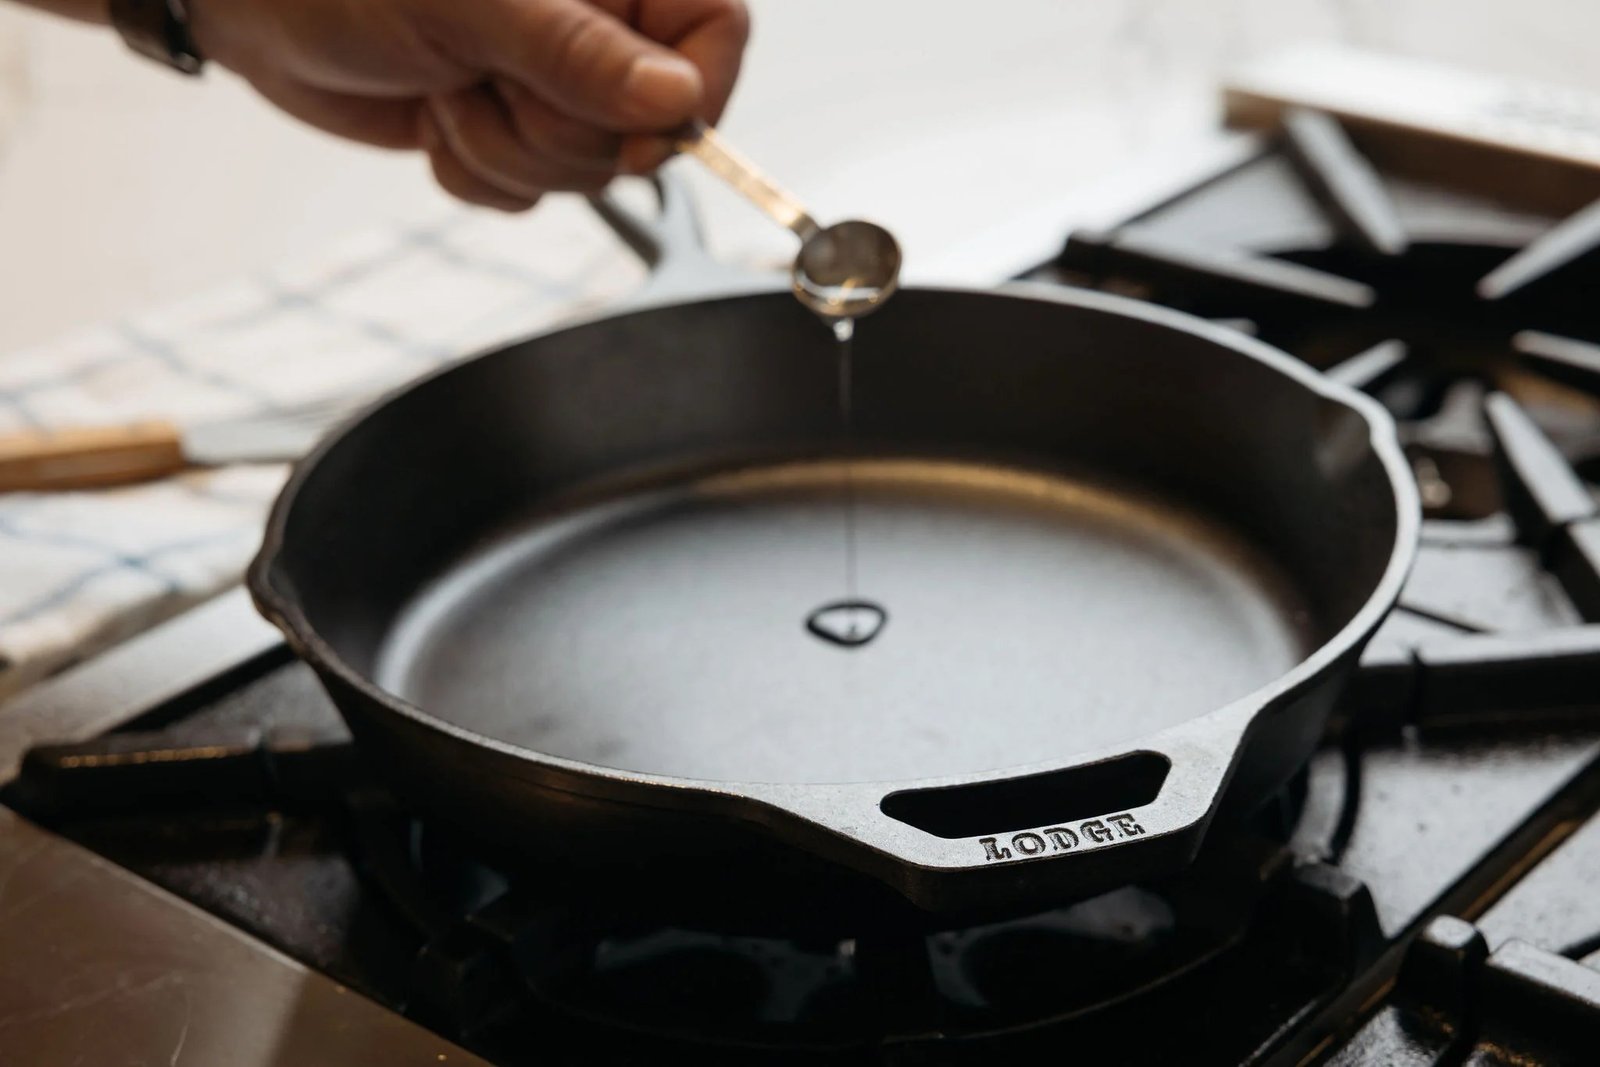
This is where most people go wrong. Rub your oil of choice — flaxseed, canola, vegetable shortening, or grapeseed all work — over the entire pan: inside, outside, even the handle. Then take a clean cloth or paper towel and wipe it all off. Seriously, wipe like you’re trying to remove it entirely. The pan should look dry, with no visible pooling or drips. What remains is a microscopic film, and that’s exactly what you want. Thick coats turn sticky instead of seasoning properly.
3. Bake it upside down
Heat your oven to 450–500°F (above the smoke point of your oil). Place the skillet upside down on the middle rack — this keeps any excess oil from pooling — and put a sheet of foil on the rack below to catch drips. Bake for one hour. Your kitchen will get a little smoky, so crack a window or run the vent fan. That smoke is the oil polymerizing, which is the whole point.
4. Cool, then repeat
Turn off the oven and let the pan cool inside. One coat is rarely enough for a great finish. I do three rounds total: thin oil, bake an hour, cool, repeat. Three thin coats beat one thick coat every single time. After the final round, your skillet should have a deep, even color with a slight sheen — not glossy-wet, not matte-dry.
Which Oil Should You Use?
You’ll find passionate debates about this online. Here’s my honest take after trying most of them:
- Flaxseed oil gives a beautiful hard finish but can flake over time if applied too thick. Great for a showpiece pan, finicky for a daily driver.
- Canola or vegetable oil is cheap, easy, and forgiving. This is what I use for maintenance seasoning, and it works perfectly well.
- Vegetable shortening (like Crisco) is the old-school choice and genuinely excellent — easy to apply thinly, polymerizes reliably.
- Grapeseed oil has a high smoke point and neutral flavor, a solid all-rounder.
What matters far more than the oil is the thin application and the temperature. A canola-seasoned pan done right will outperform a flaxseed-seasoned pan done sloppily. For more on choosing cooking fats for high-heat searing once your pan is ready, see our guide on the best oil for high-heat cooking.
Common Seasoning Mistakes to Avoid
I’ve made all of these, so learn from my errors. First, using too much oil — the number one cause of sticky seasoning. If your pan comes out tacky, you didn’t wipe enough off. You can fix it by baking it longer or scrubbing back and starting over. Second, not getting the oven hot enough. If you bake below the oil’s smoke point, the oil never polymerizes; it just sits there, greasy. Third, impatience. Seasoning builds over time. Your first few cooks won’t be perfectly nonstick, and that’s normal. Cook fatty foods — bacon, fried chicken, grilled cheese — for the first few weeks, and the seasoning will keep improving with every use.
How to Maintain Your Seasoning
Daily care is simple: wash with hot water and a brush while the pan is still warm, dry it thoroughly on the stove, and rub in a whisper-thin coat of oil while it’s warm. That’s it. Skip the dishwasher, don’t soak it, and don’t leave it to air-dry. If food sticks, simmer some water in the pan to loosen it rather than attacking it with harsh scouring pads. A well-maintained skillet genuinely gets better with age — mine is now the pan I reach for first, whether I’m searing the perfect steak or frying eggs on a slow Sunday morning.
If you want the deeper science behind polymerized oil layers, the cast-iron cookware article on Wikipedia covers the chemistry well, and Lodge’s official site has solid care guides from the company that’s been making these pans for over a century.
The Takeaway
Seasoning a cast iron skillet isn’t complicated: scrub it clean, wipe on the thinnest coat of oil you can manage, bake it hot and upside down, and repeat a few times. Then cook with it — a lot. The pan does the rest. A well-seasoned skillet will outlive you, and honestly, there’s something deeply satisfying about cooking on a surface you built up yourself, one thin layer at a time.
[…] cooking. If you’ve got a cast iron skillet, by the way, it’s also fantastic for searing steak indoors once the weather […]