
How to Remove Mould from Bathroom Silicone Sealant
Tags: How to Remove Mould from Bathroom Silicone Sealant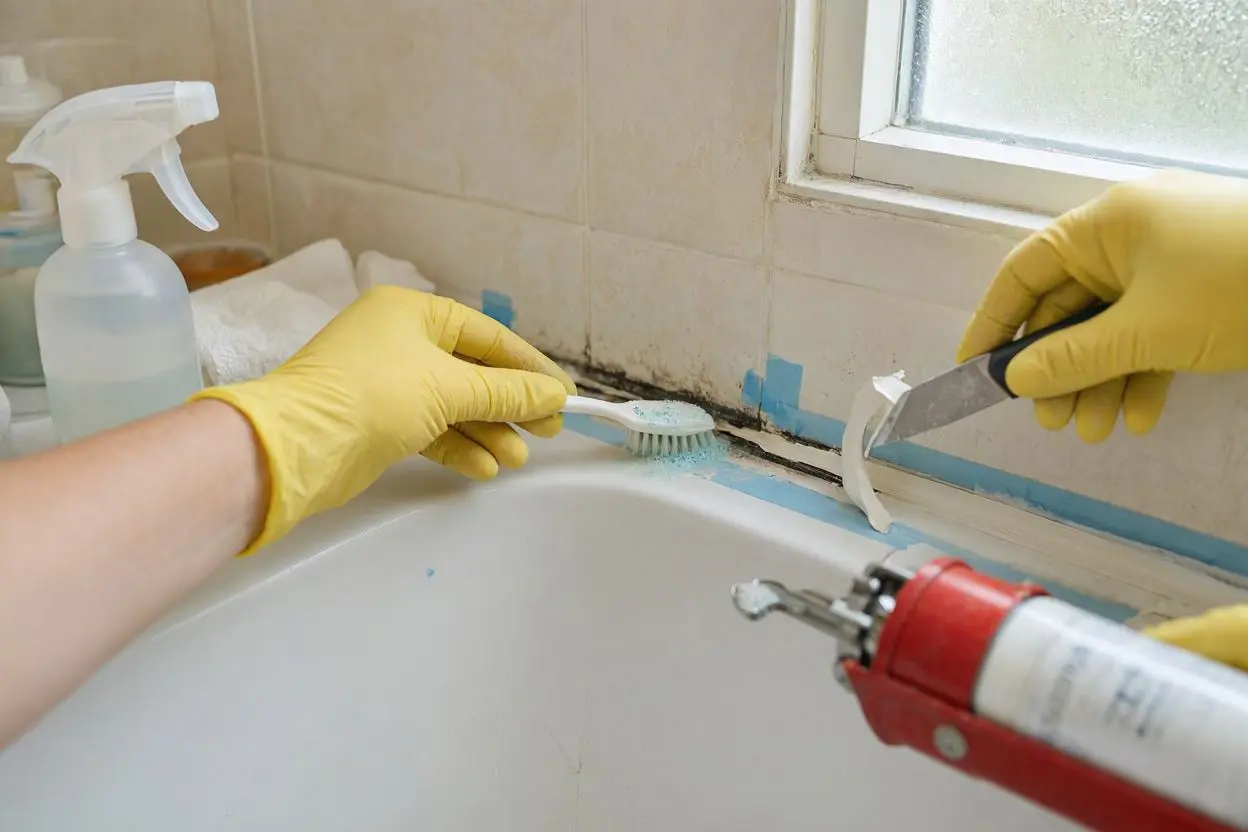
Mould on bathroom silicone sealant is a common problem, especially in bathrooms that stay damp and poorly ventilated. You may notice black, green, or dark spots growing along the silicone around your bathtub, shower, sink, or tiles. Apart from looking unpleasant, mould can continue to spread if it is not cleaned properly.
The good news is that you can often remove mould from bathroom silicone sealant yourself using a few simple cleaning methods. However, if the mould has grown deep into the silicone or keeps coming back, replacing the sealant may be the better solution.
In this guide, we will explain how to remove mould from bathroom silicone sealant, what cleaning products you can use, and how to prevent mould from returning.
Why Does Mould Grow on Bathroom Silicone?
Bathrooms provide almost everything mould needs to grow: moisture, warmth, and limited airflow. Silicone sealant around showers, baths, and sinks can remain damp for long periods, creating a suitable environment for mould.
Poor ventilation is one of the main causes. When steam from hot showers stays in the room, moisture can settle on walls, tiles, and silicone joints. Over time, this can encourage mould growth.
Soap residue, dirt, and water deposits can also build up around silicone sealant, making the problem worse.
What You Need to Remove Mould from Silicone
Before cleaning mould from bathroom silicone, gather the following items:
- Rubber gloves
- An old toothbrush or small cleaning brush
- Clean cloths or paper towels
- Bathroom mould remover or suitable cleaning solution
- Warm water
- A spray bottle, if required
- A well-ventilated bathroom
If you are using a strong cleaning product, always read the manufacturer’s instructions and follow the recommended safety precautions.
How to Remove Mould from Bathroom Silicone Sealant
1. Improve Ventilation First
Before you start cleaning, open the bathroom window and turn on the extractor fan if you have one. Good ventilation helps reduce moisture and makes the cleaning process more comfortable.
If possible, keep the bathroom door open after cleaning to allow the area to dry properly.
2. Clean the Area
Start by wiping the silicone sealant with warm water and a clean cloth. This removes surface dirt, soap residue, and other buildup.
Do not scrub aggressively at this stage because damaged silicone can become harder to clean and may eventually need replacing.
3. Apply a Mould Cleaning Product
Apply a suitable bathroom mould remover to the affected silicone. Some products are specifically designed to tackle mould and mildew on bathroom surfaces.
Allow the product to sit for the amount of time recommended on its label. Giving the cleaner enough time to work can make it easier to remove stubborn mould.
Never mix different cleaning chemicals. In particular, avoid mixing bleach with other household cleaning products, as dangerous fumes can be produced.
4. Scrub the Silicone Gently
After allowing the cleaning solution to work, use an old toothbrush or small soft brush to gently scrub the affected area.
Pay particular attention to the edges of the silicone where mould may have collected. Avoid using excessive force because silicone can tear or become damaged.
5. Rinse and Wipe
Once you have finished scrubbing, rinse the area according to the cleaning product’s instructions. Then wipe the silicone with a clean, damp cloth.
Make sure there is no cleaning residue left behind.
6. Dry the Silicone Thoroughly
Drying the area is an important part of removing mould from bathroom silicone. Use a dry cloth to remove as much moisture as possible.
If the silicone remains wet for long periods, mould can return even after successful cleaning.
Can You Remove Black Mould from Silicone?
Black mould on silicone can sometimes be removed with a suitable mould cleaner and thorough cleaning. However, there is an important difference between mould sitting on the surface and mould that has penetrated into the silicone.
If the black marks disappear after cleaning, the silicone may still be in good condition.
If dark staining remains inside the silicone despite repeated cleaning, the mould may have penetrated the sealant. In this situation, simply cleaning the surface may not provide a permanent solution.
When Should You Replace Mouldy Silicone Sealant?
Sometimes cleaning is not enough. Bathroom silicone sealant may need to be replaced if:
- Mould remains deeply embedded in the silicone.
- The silicone has turned permanently black.
- The sealant is cracked or peeling.
- Water is getting behind the sealant.
- The silicone has become loose.
- Mould keeps returning shortly after cleaning.
Removing the old silicone and applying fresh bathroom sealant can provide a cleaner and more reliable finish.
Before applying new silicone, the old sealant should be completely removed and the surface should be cleaned and dried properly.
How to Prevent Mould from Coming Back
Once you have removed mould from bathroom silicone, prevention is just as important as cleaning.
Keep the Bathroom Ventilated
Use an extractor fan during and after showers. If you have a window, opening it can also help remove excess moisture.
Dry Wet Surfaces
After using the shower or bath, wipe away excess water from tiles, glass, and silicone areas. Reducing moisture makes it harder for mould to grow.
Clean the Bathroom Regularly
Regular cleaning helps prevent soap scum, dirt, and moisture buildup. Pay particular attention to the silicone around the bath, shower tray, and sink.
Fix Leaks Quickly
A leaking tap, shower, pipe, or bath can create constant moisture. If you notice a leak, repair it as soon as possible.
Keep Air Moving
Avoid leaving damp towels and wet items piled up in the bathroom. Good airflow helps the room dry more quickly.
Is Bleach Good for Removing Mould from Silicone?
Bleach can help remove mould stains from some bathroom surfaces, but it does not always provide a permanent solution when mould has penetrated silicone sealant.
If the silicone remains stained after cleaning, replacing the affected sealant may be more effective than repeatedly treating it.
If you use a bleach-based product, follow the product instructions carefully, provide good ventilation, and never mix bleach with other cleaning chemicals.
What If the Mould Keeps Coming Back?
If mould repeatedly returns after cleaning, the problem may not simply be dirty silicone. High humidity, poor ventilation, leaks, condensation, or damaged sealant could be contributing to the issue.
Check the bathroom for sources of excess moisture. Make sure the extractor fan is working properly and that water is not getting behind the silicone.
If the silicone is damaged or mould is deeply embedded, removing the old sealant and applying new mould-resistant bathroom silicone may be the most practical option.
Final Thoughts
Knowing how to remove mould from bathroom silicone sealant can help keep your bathroom cleaner and fresher. For surface mould, a suitable mould cleaner, gentle scrubbing, and thorough drying may be enough.
However, if mould has penetrated the silicone, cleaning may only provide a temporary improvement. In that case, replacing the affected silicone sealant can be a better long-term solution.
Most importantly, focus on moisture control. Good ventilation, regular cleaning, quick repairs, and keeping silicone dry can significantly reduce the chances of mould returning.
FAQs
1. How do you remove mould from bathroom silicone sealant?
Clean the silicone, apply a suitable mould remover, allow it to work according to the product instructions, gently scrub the area, rinse as directed, and dry the silicone thoroughly.
2. Why does mould keep growing on my bathroom silicone?
Mould commonly returns because of excess moisture, condensation, poor ventilation, leaks, or silicone that has become damaged or deeply contaminated.
3. Can black mould be removed from silicone?
Surface black mould can often be cleaned, but if the staining has penetrated deeply into the silicone, replacing the sealant may be necessary.
4. Should I replace silicone with mould inside it?
If mould remains embedded after proper cleaning, or the silicone is cracked, peeling, or damaged, replacing it is usually a more practical solution.
5. How can I stop mould growing on bathroom silicone?
Keep the bathroom well ventilated, remove excess water, clean the area regularly, repair leaks, and make sure the silicone stays as dry as possible.
6. Can I use bleach to clean mouldy silicone?
A bleach-based cleaner may help with mould stains, but it may not remove mould that has penetrated silicone. Always follow the product instructions and never mix bleach with other cleaning chemicals.