
Introduction
Hard cider is one of the easiest alcoholic drinks to make at home. You need apple juice, yeast, and a little patience. No cooking, no complicated equipment — just fermentation doing its magic.
In this guide, I will walk you through the full process: what to buy, how to ferment, when to bottle, and how to get that crisp, bubbly finish.
Direct Answer: How Do You Make Hard Cider?
Mix preservative-free apple juice with cider or champagne yeast in a sanitised fermenter fitted with an airlock. Ferment for 1 to 2 weeks at room temperature, then bottle with a little priming sugar for carbonation. The cider is usually ready to drink 2 to 4 weeks after bottling.
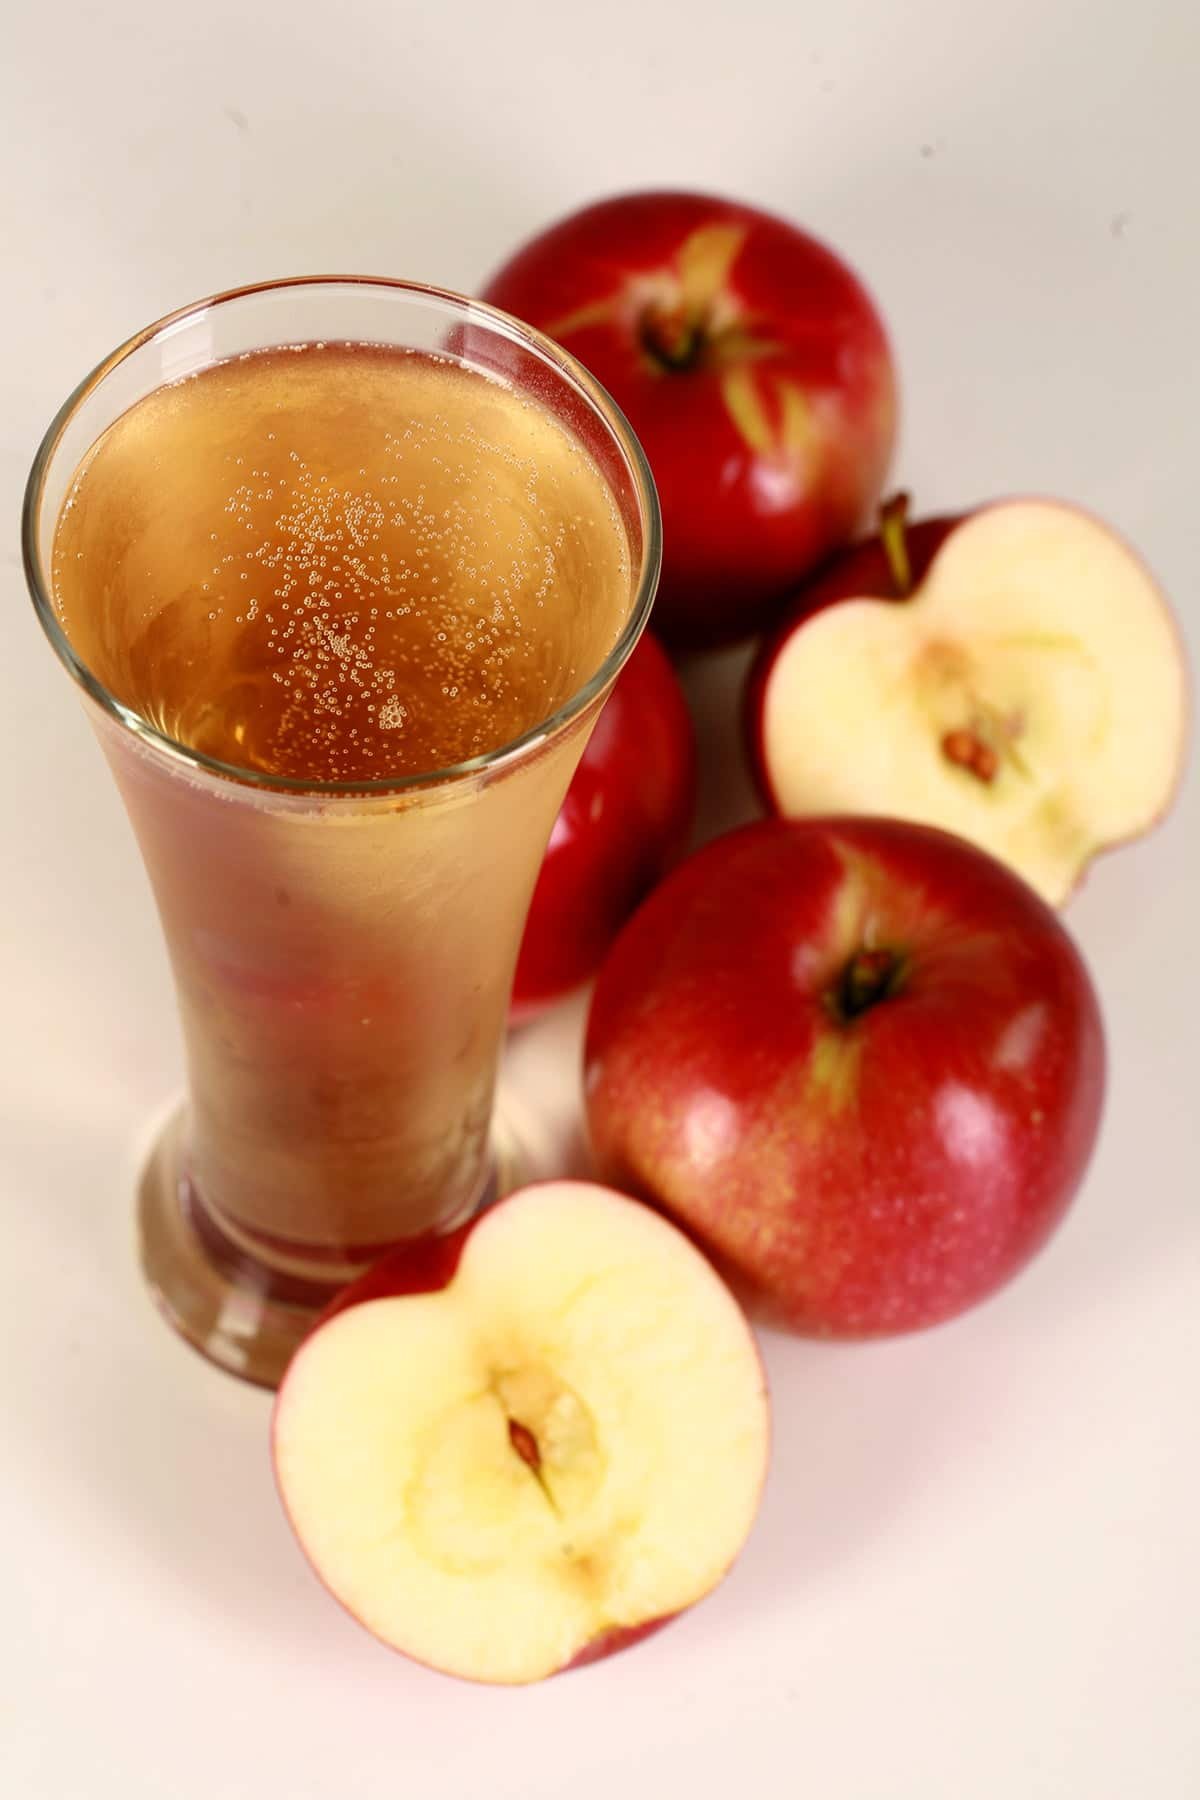
What You Need
Ingredients
- Apple juice: 4 to 5 litres of 100% apple juice with NO preservatives (sorbates and benzoates kill yeast). Fresh-pressed is best, but store-bought works fine.
- Yeast: one packet of cider yeast, champagne yeast, or ale yeast. Cider yeast gives the cleanest apple flavour.
- Sugar (optional): 100 to 200 grams if you want a stronger cider. Brown sugar adds a nice depth.
- Priming sugar: about 30 grams for carbonating 5 litres at bottling time.
Equipment
- A food-grade fermenter (5-litre glass demijohn or plastic bucket with lid)
- An airlock and rubber bung
- A siphon tube for transferring
- Bottles with caps or swing tops, plus a capper if needed
- Sanitiser (no-rinse brewing sanitiser is easiest)
You can buy a complete cider starter kit online for the price of a few shop-bought bottles.
Step-by-Step: Making Hard Cider
Step 1: Sanitise Everything
This is the most important step. Wash the fermenter, airlock, bung, and anything that touches the juice with brewing sanitiser. Contamination is the number one cause of bad batches.
Step 2: Add the Juice
Pour the apple juice into the fermenter. If you are adding sugar, dissolve it in a little warm juice first, then mix it in. Leave a few inches of headspace at the top.
Step 3: Pitch the Yeast
Sprinkle the yeast directly onto the juice (most dry yeasts do not need rehydrating). Give it a gentle swirl. Fit the airlock, filled halfway with water or sanitiser, into the bung.
Step 4: Ferment for 1 to 2 Weeks
Keep the fermenter somewhere dark at 18 to 22°C (65 to 72°F). Within 24 to 48 hours you should see bubbles in the airlock — fermentation has started. Let it run until bubbling stops completely, usually 7 to 14 days.
Step 5: Check It Is Done
The cider is ready to bottle when the airlock has been still for at least 3 days and the liquid looks clearer. If you have a hydrometer, two identical readings 3 days apart confirm fermentation is finished.
Step 6: Bottle with Priming Sugar
Dissolve the priming sugar in a little boiled water, cool it, and gently stir it into the cider. Siphon the cider into bottles, leaving about an inch of headspace. Cap them tightly.
Step 7: Carbonate and Age
Store the bottles at room temperature for 1 to 2 weeks so the remaining yeast eats the priming sugar and creates bubbles. Then move them somewhere cool. The cider tastes best after 2 to 4 weeks of ageing, and keeps improving for months.
Tips for Great Cider
- Use good juice. The juice is 95% of your cider. Cloudy, fresh-pressed juice makes the most flavourful cider.
- Keep it cool. Fermenting too warm (above 24°C) creates harsh, solvent-like flavours. A cool cupboard is ideal.
- Be patient. Young cider can taste sharp and “green.” A month of ageing smooths it out dramatically.
- Try different yeasts. Champagne yeast makes dry, crisp cider. Ale yeast leaves more apple character. Experiment with small batches.
- Back-sweeten carefully. For a sweeter cider, add non-fermentable sweetener (like erythritol) at bottling — regular sugar would restart fermentation and over-carbonate the bottles.
Common Mistakes to Avoid
- Using juice with preservatives. Potassium sorbate or sodium benzoate will stop fermentation dead. Always check the label.
- Skipping sanitation. Wild bacteria create vinegar flavours or worse. Sanitise everything, every time.
- Bottling too early. If fermentation is not finished, the bottles can over-carbonate and explode. Wait for the airlock to go fully still.
- Too much priming sugar. More sugar means more pressure. Stick to the recommended amount — bottle bombs are dangerous.
- Fermenting too hot. Heat makes yeast produce off-flavours. If your house is warm, ferment in the coolest room you have.
For more drinks guides, see how long is wine good for after opening and how to brew a stout beer at home.
Frequently Asked Questions
How long does homemade hard cider take?
About 3 to 6 weeks from start to drinking: 1 to 2 weeks fermenting, 1 to 2 weeks carbonating in the bottle, and a couple of weeks ageing for best flavour.
What is the alcohol content of homemade cider?
Typically 4 to 7% ABV with plain apple juice. Adding sugar before fermentation raises it — 200 grams of extra sugar in 5 litres adds roughly 1.5% ABV.
Can I make cider without special yeast?
You can try bread yeast in a pinch, but the flavour will be rough. A proper cider or wine yeast costs very little and makes a dramatically better drink.
Why does my cider taste like vinegar?
Acetobacter bacteria got in, usually from poor sanitation or too much air exposure. Sanitise carefully and keep the airlock filled. Vinegar cider is safe but unpleasant — use it for cooking.
Is it legal to make hard cider at home?
In the US, federal law allows up to 100 gallons per adult per year (200 max per household) for personal use. In the UK, home brewing for personal consumption is legal. Always check your local laws.
How do I make sparkling vs still cider?
Priming sugar at bottling creates sparkling cider. For still cider, skip the priming sugar and bottle once fermentation is fully done — the bottles will not carbonate.
How long does homemade cider keep?
Properly bottled and stored cool and dark, it keeps 6 to 12 months easily. Like commercial cider, it is best within the first few months but ages gracefully.
Conclusion
Making hard cider is simple: juice plus yeast plus time. Sanitise well, ferment cool, bottle patiently, and you will have crisp homemade cider for a fraction of the shop price.
Start with one small batch, taste how it develops, and adjust your next batch. That is how every great home cider maker begins.