
Introduction
Freeze-dried food lasts for years, weighs almost nothing, and keeps most of its flavour and nutrients. Astronauts eat it. Hikers love it. And now, more home cooks are doing it themselves.
In this guide, I will explain how to freeze dry food at home step by step: the equipment, the process, the best foods, and beginner mistakes to avoid.
Direct Answer: How Do You Freeze Dry Food?
To freeze dry food, freeze it solid (at least -30°C), then place it in a home freeze dryer, which drops the pressure and gently warms the food so the ice turns straight into vapour — a process called sublimation. A full cycle takes 24 to 48 hours. Store the finished food in airtight containers with oxygen absorbers.
What Is Freeze Drying?
Freeze drying (also called lyophilisation) removes water from food in three stages:
- Freezing. The food is frozen solid, locking its structure in place.
- Primary drying (sublimation). Under very low pressure, the ice turns directly into vapour without becoming liquid. This removes about 95% of the water.
- Secondary drying. Gentle warmth drives off the last bound moisture.
The result keeps its shape, colour, and most nutrients far better than dehydrated food — and because it uses cold instead of heat, flavours stay bright and vitamins survive.
What You Need to Freeze Dry Food at Home
The Freeze Dryer
A home freeze dryer is the only reliable way to truly freeze dry food — it handles freezing, vacuum, and drying automatically. They cost several thousand dollars and are about the size of a small washing machine, so check your space and power outlet before buying.
Other Supplies
- Freezer bags or trays — for pre-freezing food flat so it dries evenly
- Mylar bags or mason jars — for airtight storage after drying
- Oxygen absorbers — small packets that remove leftover air and extend shelf life
- A kitchen scale — for checking that drying is complete (weight stops dropping)
- A sharp knife and cutting board — thin, even slices dry faster
How to Freeze Dry Food: Step-by-Step
Step 1: Prepare and Pre-Freeze
Pick fresh, ripe food and slice it into thin, even pieces — about 6 mm thick. Even thickness is the secret to even drying. Spread in a single layer on the trays (no piling), then freeze the loaded trays for at least 12 hours until completely solid. Pre-freezing shortens the cycle and improves texture.
Step 2: Run the Cycle
Move the frozen trays straight into the machine — work quickly so nothing thaws. Close the door, check the drain valve is shut, and start the cycle. Most units run automatically; a batch takes 24 to 48 hours. Do not open the door mid-cycle.
Step 3: Check, Package, and Store
Fully dried food feels light and crisp and snaps easily — cold, soft, or bendy pieces need more dry time. A scale confirms it: if the weight keeps dropping, it is not done yet. Then work fast: seal everything in mylar bags or mason jars with an oxygen absorber within 20 minutes, label with contents and date, and store cool, dark, and dry. Properly packed, it lasts 10 to 25 years.
Best Foods to Freeze Dry
- Fruits: strawberries, blueberries, bananas, apples, mango — they turn sweet and crunchy, perfect for snacking
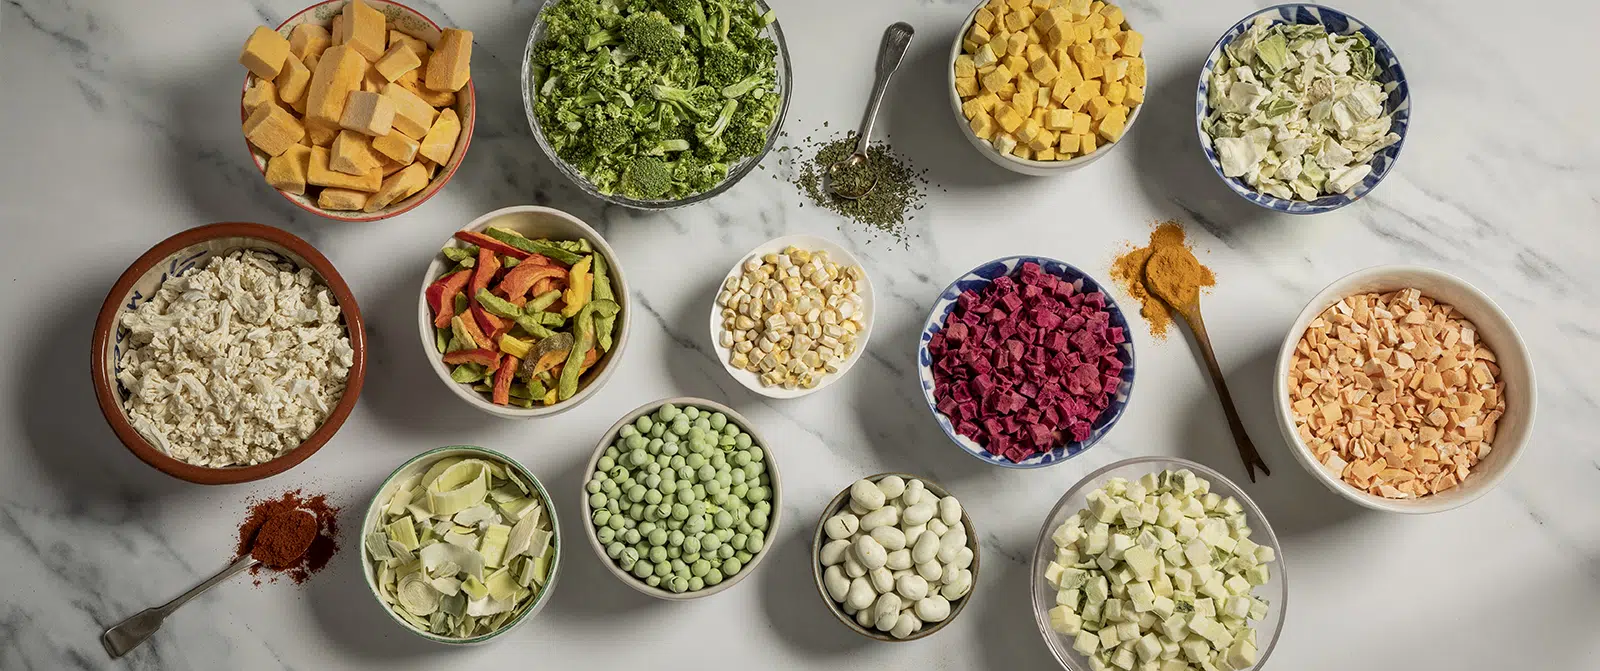
- Vegetables: peas, corn, peppers, onions — great for soups and camping meals
- Meals: stews, chilli, pasta dishes — rehydrate with hot water for an instant meal
- Herbs: basil, parsley, dill — they keep far more flavour than air-dried herbs
Avoid very fatty foods (fat does not freeze dry well and can go rancid) and very sugary syrups.
Common Mistakes to Avoid
- Skipping the pre-freeze — cycles run much longer and textures suffer.
- Overloading trays — crowded trays trap moisture. Single layers only.
- Cutting pieces too thick — thick chunks may never dry in the middle.
- Leaving food out after drying — package within 20 minutes or it reabsorbs humidity.
- Forgetting oxygen absorbers — leftover oxygen slashes shelf life.
Tips for Great Results
- Blanch vegetables first for brighter colours and better texture.
- Group similar foods — strong flavours can transfer between trays.
- Start with easy wins — bananas, strawberries, and herbs are forgiving first batches.
- Keep a log of food, thickness, and cycle time for perfect repeat batches.
For more food guides, check out how long deli meat lasts and how to cook canned black beans.
Frequently Asked Questions
Can you freeze dry food without a freeze dryer?
Not truly. A home freezer alone cannot create the vacuum needed for sublimation. Some people use dry ice methods, but results are unreliable and food safety is questionable. A proper freeze dryer is the only dependable home method.
How long does freeze-dried food last?
Sealed with oxygen absorbers and stored cool and dark, most freeze-dried food lasts 10 to 25 years. High-fat foods last less time — usually 1 to 2 years.
Can you freeze dry raw meat?
You can, but handle it carefully and cook it after rehydrating. Freeze drying cooked meat is safer and gives ready-to-eat meals.
Why is my freeze-dried food chewy instead of crunchy?
It is not fully dry. Chewy or bendy pieces still contain moisture. Put the batch back in for extra dry time, and check with a scale until the weight stops changing.
How do you rehydrate freeze-dried food?
Add hot water and wait a few minutes. Fruits can be eaten dry as snacks. For meals, cover with hot water for 5 to 10 minutes until tender — start with less water and add more as needed.
Is freeze drying better than dehydrating?
For long-term storage, yes. Freeze-dried food lasts years longer, keeps more nutrients, and rehydrates better. Dehydrators are cheaper and fine for short-term snacks like jerky and dried fruit.
Conclusion
Freeze drying food at home takes planning and the right machine, but the process itself is straightforward: prep thin and even, pre-freeze solid, run the full cycle, check dryness with a snap test or scale, and seal fast with oxygen absorbers.
Start with simple fruits, keep good notes, and you will soon have a pantry full of food that lasts for years. Happy freeze drying!
Sources: National Center for Home Food Preservation, USDA Food Safety and Inspection Service