
How to Make Creamy Mac and Cheese Without a Roux
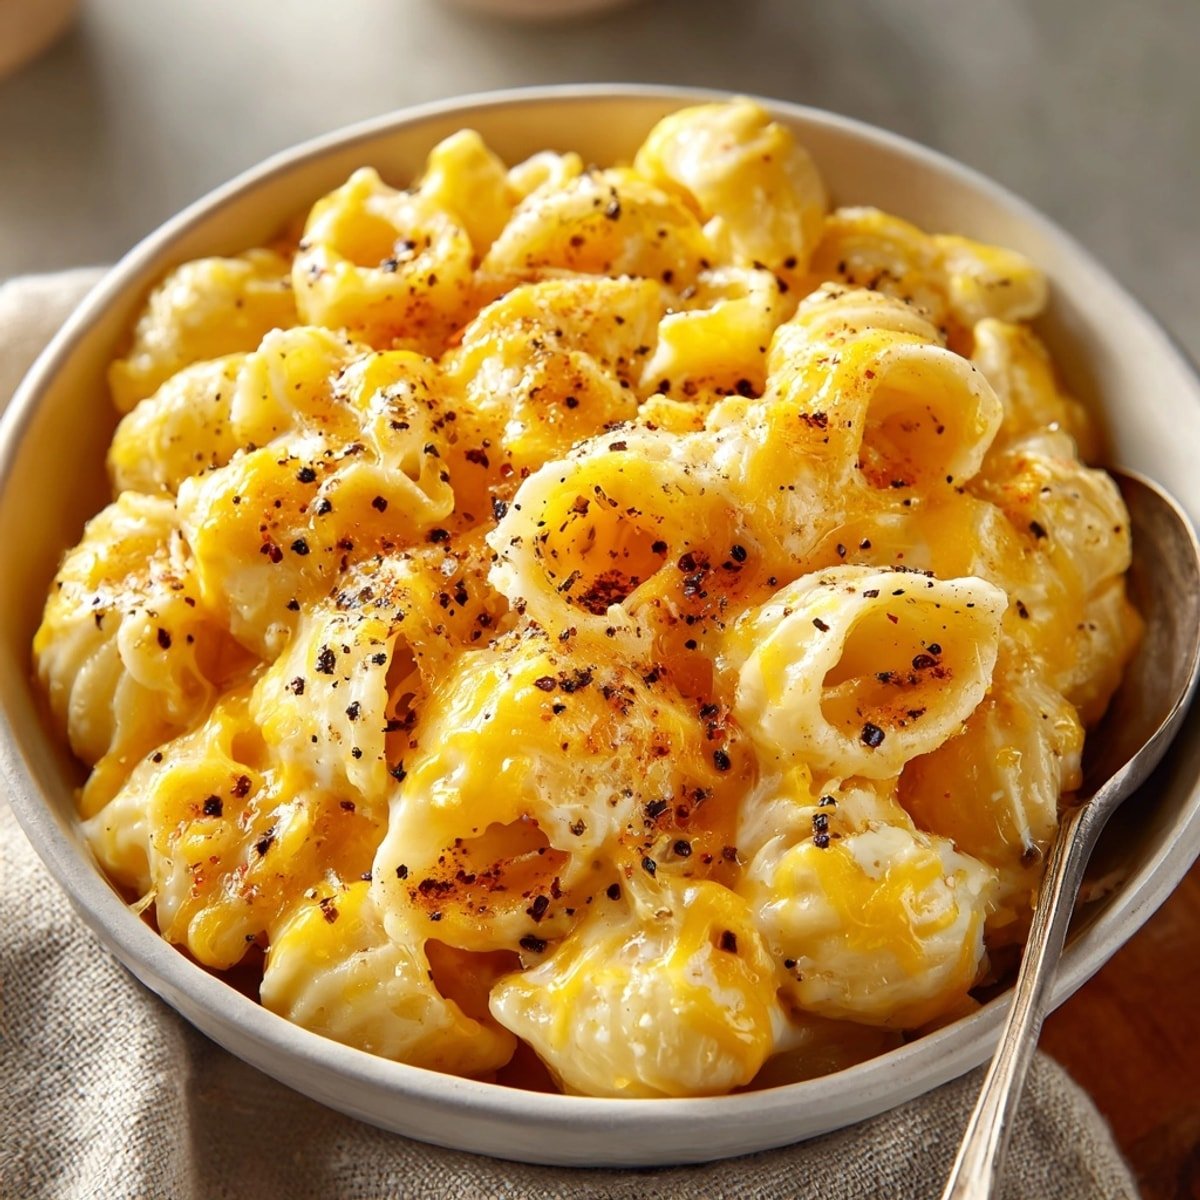
How Do I Make Creamy Mac and Cheese Without a Roux?
A roux — that butter-and-flour paste most mac and cheese recipes start with — is fussy. Cook it too little and your sauce tastes like raw flour; cook it too long and it darkens; add the milk too fast and you’ve got lumps. So how do I make creamy mac and cheese without a roux? I switched to the evaporated milk method a few years ago and never looked back. It’s faster, nearly foolproof, and produces a sauce so silky it converted my roux-purist mother-in-law. Here’s the full method, plus the cheese science that makes it work.
Why Evaporated Milk Works Better Than Regular Milk
Evaporated milk is milk with about 60% of the water removed, and it’s stabilized with extra milk proteins. Those proteins are the secret: they emulsify the cheese sauce, keeping it smooth and creamy instead of grainy or greasy. Regular milk lacks that protein concentration, which is why roux-less sauces made with plain milk tend to break. One can of evaporated milk plus the right cheese equals a sauce that reheats well, doesn’t separate, and coats every noodle. It’s the closest thing to a cheat code in weeknight cooking.
How Do I Make Creamy Mac and Cheese Without a Roux? The Recipe
Serves 4–6. Total time: 20 minutes.
Ingredients: 1 pound elbow macaroni (or shells, cavatappi, or any short shape with nooks), 1 can (12 oz) evaporated milk, 3 tablespoons butter, 1 teaspoon dry mustard, ½ teaspoon garlic powder, ½ teaspoon salt, ¼ teaspoon black pepper, 12 oz shredded cheese (see cheese notes below), ½ cup water or pasta water as needed.
Method:
- Cook the pasta in well-salted water until just shy of al dente — a minute less than the package says. It’ll finish in the sauce. Drain, reserving ½ cup of the starchy pasta water.
- In the same pot over medium-low heat, melt the butter. Pour in the evaporated milk, mustard, garlic powder, salt, and pepper. Warm until steaming but not boiling.
- Reduce heat to low. Add the shredded cheese a handful at a time, stirring until each addition melts before adding the next. Patience here is everything.
- Return the pasta to the pot and toss to coat. If the sauce is too thick, loosen with splashes of pasta water until it flows like lava.
- Taste and adjust salt. Serve immediately — mac and cheese waits for no one.
The Cheese Rules (This Is Where People Go Wrong)
The cheese you choose matters more than anything else in this recipe:
- Shred it yourself. Pre-shredded cheese is coated with anti-caking starch that makes sauces grainy. Buy blocks and shred — it takes two minutes and changes everything.
- Use a good melter as your base. Young cheddar, Monterey Jack, fontina, Gruyère, or American all melt smoothly. American cheese, unglamorous as it is, contains emulsifying salts that guarantee silkiness — a few slices mixed in is a pro move.
- Avoid aged, dry cheeses as the main cheese. Aged parmesan, pecorino, and extra-sharp aged cheddars get grainy when melted. Use them as accents, not the base.
- Keep the heat low. Cheese sauces break above a simmer. If your sauce looks oily, the heat was too high. Low and slow, handful by handful.
Variations Worth Trying
Once you nail the base, it’s endlessly adaptable. Buffalo chicken mac (shredded rotisserie chicken + hot sauce), bacon and jalapeño, lobster mac for date night, or a pasta sauce-inspired tomato-basil version. For a baked version, transfer to a dish, top with buttered breadcrumbs, and broil 3–4 minutes. My kids’ favorite add-in is frozen peas stirred in at the end — no judgment, it’s actually good.
Storage and Reheating
This mac and cheese keeps 3–4 days refrigerated and reheats better than roux-based versions thanks to the evaporated milk’s emulsifiers. Reheat gently on the stove with a splash of milk, stirring often. If you’re meal-prepping, portion it into containers for easy weekday lunches — though fair warning, it rarely survives to lunch in my house.
For more on the science of cheese sauces, the macaroni and cheese article on Wikipedia traces the dish’s history, and Serious Eats has deeply tested stovetop mac methods.
Baked Version and Troubleshooting
Want that golden, crunchy top? The stovetop base adapts beautifully to baking. Transfer the finished mac and cheese to a buttered baking dish, top with a mixture of panko breadcrumbs tossed in melted butter plus extra grated cheese, and bake at 400°F for 15–20 minutes until deeply golden. The contrast between creamy interior and crunchy topping is the best of both worlds. For extra decadence, stir a spoonful of Dijon mustard or a dash of hot sauce into the sauce before baking.
Troubleshooting the sauce: if it’s grainy, the heat was too high or the cheese was pre-shredded — next time, lower the heat and shred your own. A grainy sauce can sometimes be rescued with a splash of warm evaporated milk whisked in vigorously. If it’s too thick, thin with warm milk or pasta water a splash at a time. Too thin? Simmer gently for a few minutes — the starches will tighten it up. If it breaks and looks oily, remove from heat and whisk in a handful of fresh cheese; the new emulsion often pulls it back together.
One last tip: mac and cheese waits for no one, but it holds fine. If dinner’s delayed, keep it warm in a 200°F oven with a piece of foil over the top for up to 30 minutes. Stir in a splash of milk before serving to restore the creaminess. Your patience will be rewarded.
Serving It Like You Mean It
Presentation elevates mac and cheese from weeknight fuel to dinner-party worthy. Serve it in the skillet or baking dish it finished in — rustic beats fussy here. Top with something fresh and crunchy at the table: toasted breadcrumbs, crumbled bacon, sliced scallions, or pickled jalapeños for contrast against the richness. A simple green salad alongside cuts through the heaviness and makes it a complete meal. And portion generously but not enormously — mac and cheese is rich, and a reasonable serving leaves room for seconds, which everyone wants anyway. Leftovers, if they somehow exist, reheat gently with a splash of milk.
The Takeaway
Evaporated milk plus hand-shredded melting cheese, added slowly over low heat — that’s the whole secret. No roux, no lumps, no flour taste, dinner in 20 minutes. Once you try it, the roux method starts feeling like unnecessary homework.