
How Do I Clean Grout Between Bathroom Tiles Effectively?
Grout starts bright and ends… not bright. That gray-brown discoloration between your bathroom tiles isn’t necessarily dirt you can mop away — it’s years of soap scum, hard water minerals, and mildew worked into porous cement. If you’re asking how do I clean grout between bathroom tiles effectively, the answer depends on how bad it is: maintenance cleaning, deep restoration, and the nuclear options each have their place.
Level 1: Maintenance Cleaning (Do This Regularly)
For grout that’s just dull, not disgusting:
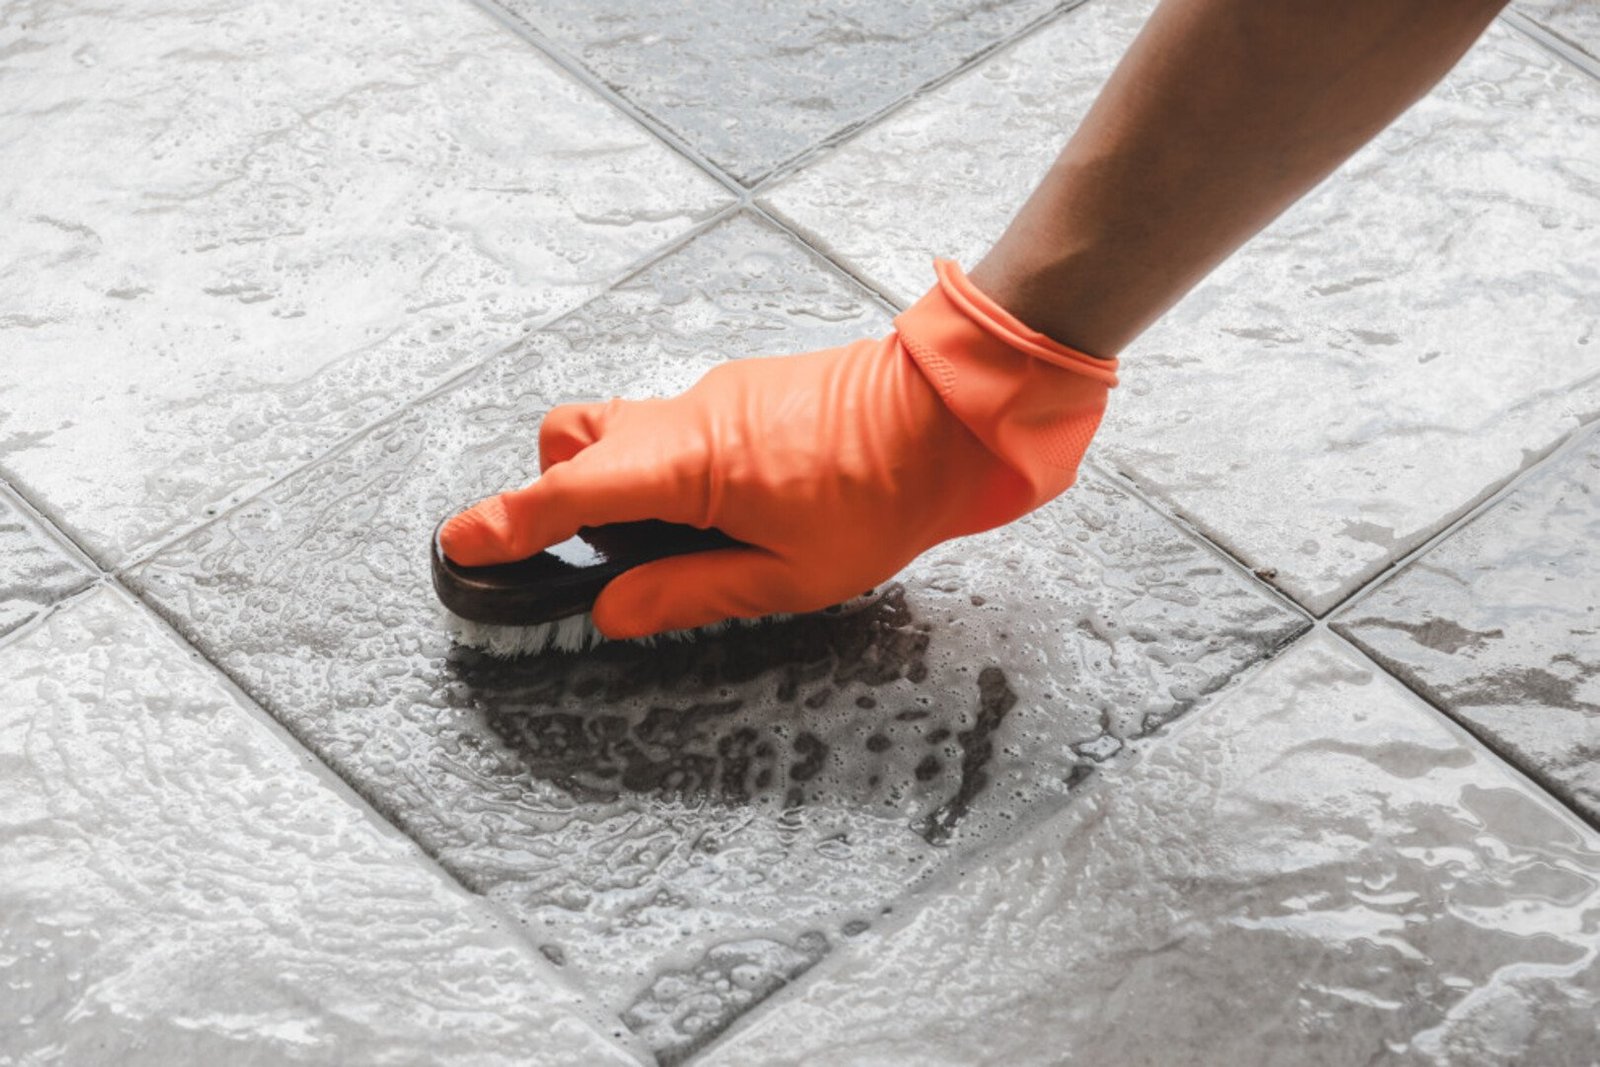
- pH-neutral tile cleaner + stiff brush. Spray, let dwell 5 minutes, scrub with a grout brush or old toothbrush, rinse. This handles soap scum and surface grime.
- Baking soda paste. Mix baking soda with water into a paste, apply to grout lines, scrub, rinse. Mildly abrasive, completely safe, surprisingly effective on light staining.
- Squeegee after showers. Thirty seconds prevents most grout discoloration before it starts. Prevention beats restoration every time.
Weekly maintenance cleaning keeps grout from ever reaching the “project” stage. The best grout cleaning is the kind you barely have to do.
How Do I Clean Grout Between Bathroom Tiles Effectively?
When maintenance isn’t cutting it, escalate:
- Oxygen bleach (sodium percarbonate). Mix with hot water per package directions, apply to grout, let sit 15–30 minutes, scrub, rinse. This is the pro’s secret weapon — it lifts deep staining without the risks of chlorine bleach, and it’s color-safe. Products like OxiClean work; dedicated grout oxygen-bleach products work better.
- Hydrogen peroxide (3%) + baking soda. Make a paste, apply, wait 15 minutes, scrub. Effective on mildew staining.
- Steam cleaner. A handheld steam cleaner blasts grime out of grout pores with zero chemicals. Extremely satisfying, genuinely effective. A $50–$100 steamer pays for itself across the whole house.
- Commercial grout cleaners. Products like Zep or Rejuvenate work well — follow directions exactly, ventilate, wear gloves. They’re stronger than DIY mixes for a reason.
Avoid: vinegar on natural stone tile (etches marble, travertine, limestone), steel wool or harsh abrasives (scratch grout and tile glaze), and mixing cleaners (especially bleach + anything acidic — toxic gas).
Level 3: Restoration (When Cleaning Isn’t Enough)
Sometimes grout is stained beyond cleaning — deep-set minerals, years of neglect, or grout that’s actually deteriorating. Options:
- Grout colorant/sealer pens. Products like Grout Renew paint over stained grout with an epoxy-based colorant that seals simultaneously. It’s essentially grout makeup — and it looks remarkably good. $10–$15 per bottle, covers a typical bathroom.
- Professional grout cleaning. Pros use truck-mounted steam and specialized chemicals. $300–$600 for a bathroom, but the results can look like new tile.
- Regrouting. For grout that’s cracked, crumbling, or missing — rake out the top 1/8″ with a grout saw and apply fresh grout. Labor-intensive but transformative. Consider epoxy grout for the replacement — it’s essentially stain-proof and mold-proof.
Sealing: The Step Everyone Skips
Here’s the thing about cleaning grout between bathroom tiles effectively: cleaning without sealing is temporary. Cement grout is porous — it will re-stain within months if left unsealed. After deep cleaning:
- Let grout dry completely (24–48 hours).
- Apply penetrating grout sealer with a small brush or applicator bottle, keeping it off the tile faces.
- Wipe excess from tiles within 5–10 minutes.
- Apply a second coat after the first cures.
- Reseal every 1–2 years. Test by dripping water on grout — if it beads, the seal holds; if it soaks in dark, reseal.
Sealed grout cleans with a wipe instead of a scrub. It’s the difference between maintenance and restoration, permanently.
Prevention: Keeping It Clean
- Run the exhaust fan during and after every shower (moisture feeds mildew)
- Squeegee walls after use
- Use liquid soap instead of bar soap (bar soap = soap scum = grout’s enemy)
- Seal grout on schedule
- Address bathroom mold at the first sign — mildew staining starts as a mold problem
The Tile Council of North America publishes care guidelines by tile type — worth checking if you have natural stone, which needs gentler products than ceramic.
Natural Stone Warning
If your tile is marble, travertine, limestone, or any natural stone, everything changes: no vinegar, no acidic cleaners, no harsh abrasives — acids etch stone permanently, and the damage is irreversible without professional honing. Use only pH-neutral stone-safe cleaners, soft brushes, and minimal water. Seal stone tiles themselves (not just grout) with stone sealer, and reseal yearly — unsealed stone absorbs everything, including the cleaning products meant to help it. When in doubt about your tile type, test any cleaner in an inconspicuous spot first. A $15 bottle of wrong cleaner can cause thousands in stone damage. Ceramic and porcelain are far more forgiving — but verify before you scrub.
Grout Pen and Colorant Buying Guide
For stained-but-sound grout, colorants are transformative — but buy right. Grout pens ($8–$12) work for small touch-ups and thin grout lines; they’re essentially markers and wear faster. Bottled grout colorant (Grout Renew, etc., $12–$18) is the real solution for whole bathrooms — epoxy-based, seals as it colors, lasts years. Color choice: match the original grout color for an invisible refresh, or go slightly darker (hides future staining better). Avoid going lighter — it shows dirt faster and looks artificial. Prep matters: clean grout thoroughly first and let dry 24+ hours; colorant over dirty grout peels. One bottle typically covers an average bathroom floor — buy two to avoid a mid-project store run.
How to Tell If Grout Needs Replacing vs. Cleaning
Not all ugly grout is dirty grout. Clean it if: the grout is intact but discolored — color comes back with oxygen bleach or steam. Repair it if: grout is cracked, crumbling, or missing in spots — rake out the damaged sections and regrout. Replace it all if: grout is soft, powdery, or falling out across large areas (indicating failed installation or chronic water intrusion). The thumbnail test: press your thumbnail into the grout — if it dents or crumbles, it’s deteriorated, not dirty. Cleaning deteriorated grout is polishing a crumbling foundation; regrout instead.
The Takeaway
How do you clean grout between bathroom tiles effectively? Maintain with pH-neutral cleaner and a brush, deep-clean stained grout with oxygen bleach or steam, restore hopeless grout with colorant or regrouting — and always seal afterward. Sealing is what makes the cleaning last.
Grout maintenance is deeply unglamorous and disproportionately satisfying. An hour of work makes a bathroom look renovated. Bathroom projects continuing? Our bathtub caulking guide handles the other grout-adjacent detail.