
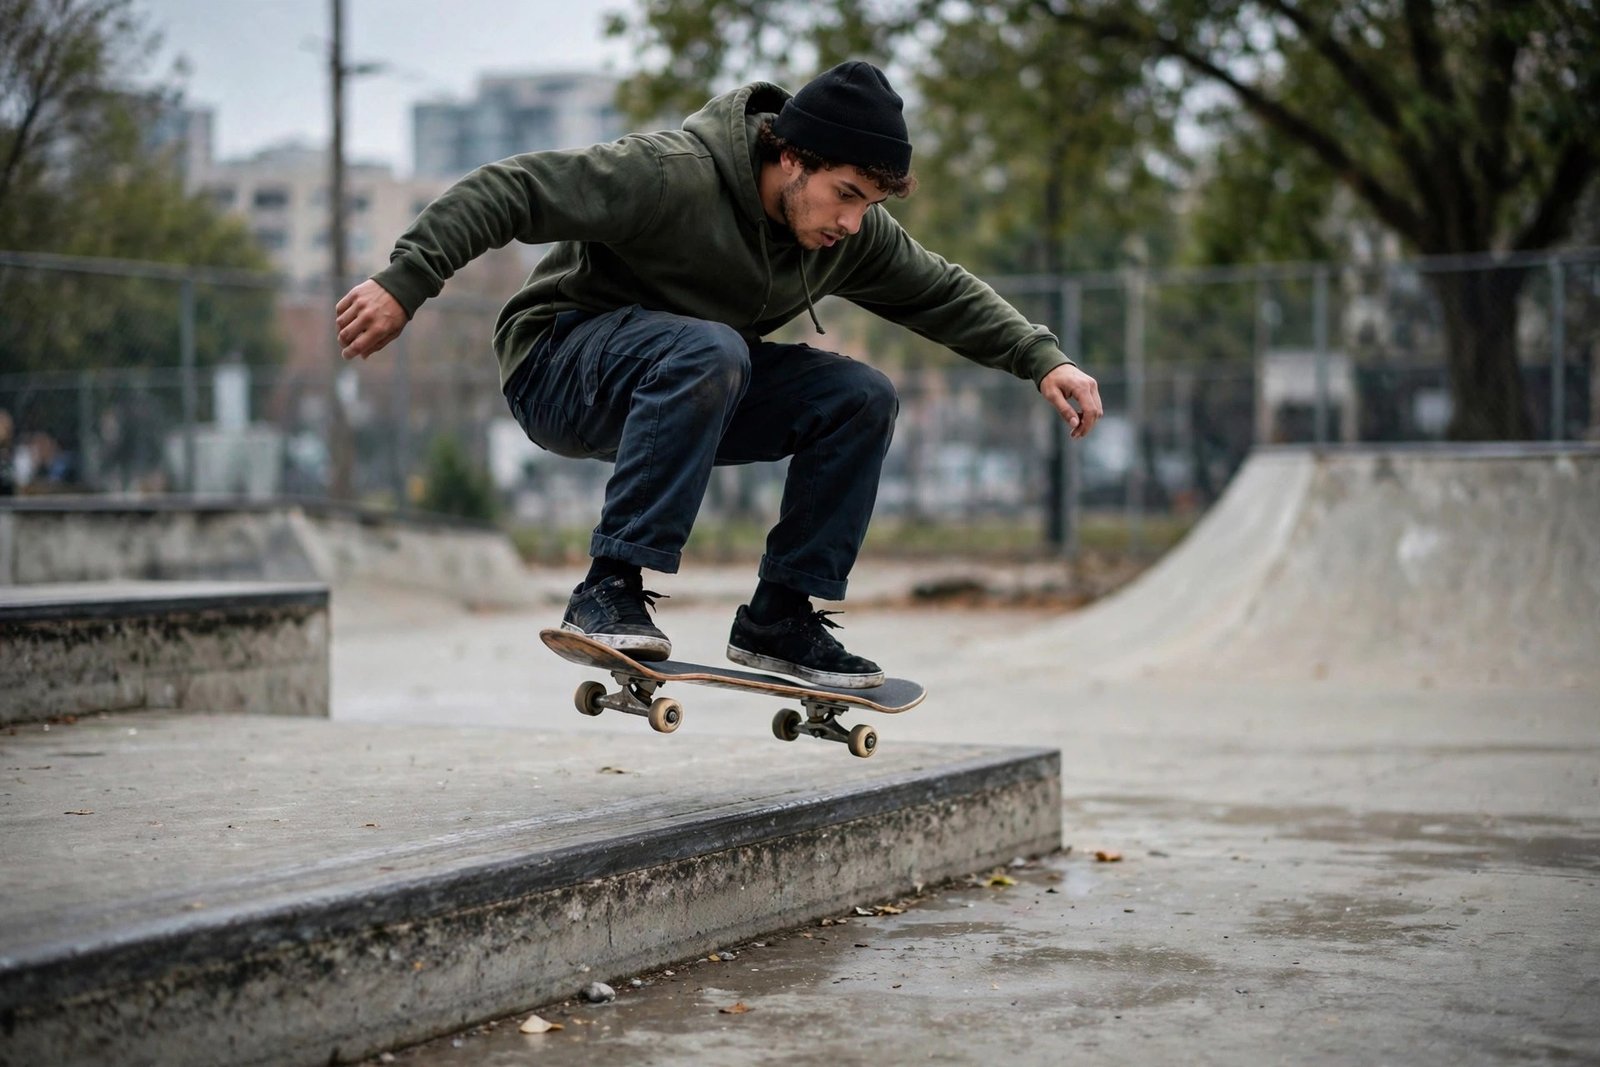
The ollie is skateboarding’s atom — every flip trick, every grind entry, every gap clearance is built on it. And it is humbling: a trick that looks like a simple jump takes most skaters weeks of daily practice to land consistently, and months to make high and controlled. The difference between skaters stuck with sketchy, low ollies and those with floaty, leveled-out ones is not talent. It is mechanics, drilled correctly.
This guide breaks down the ollie into its five phases, diagnoses the common faults keeping your ollies low, and gives you the drill progression that actually builds height and control.
The Five Phases, Done Right
1. Stance and crouch: feet in ollie position — back foot on the tail’s pocket, front foot just behind the front bolts. Crouch low with knees bent, weight centered, shoulders square over the board. Most failed ollies start here: standing too upright robs the entire trick of power.
2. The pop: slam the tail down hard and fast with your back foot — this is the explosion that starts everything. The pop must be quick and committed; a lazy press produces a lazy ollie. 3. The slide: as the tail strikes, your front foot slides up the grip tape toward the nose, dragging on its outer edge. This slide levels the board and pulls the nose up. 4. The lift: jump — actually jump — bringing your knees toward your chest. Your feet rise, and the board follows. 5. The level and land: push the front foot forward to level the board mid-air, then land with knees bent, weight centered over the bolts. USA Skateboarding publishes coaching progressions that break these phases into teachable steps.
Diagnose Your Fault: The Big Four
Fault 1: The rocket ollie (nose points skyward, tail drags). Cause: not sliding the front foot forward to level the board. Fix: exaggerate the front-foot push toward the nose at the peak; think “kick the nose forward.”
Fault 2: Low height. Cause: not jumping — most skaters pop without actually leaving the ground athletically. Fix: practice jumping (without the board) bringing knees to chest; the board can only rise as high as your feet. Fault 3: The board shoots out. Cause: weight too far back or shoulders rotating. Fix: keep shoulders square and weight centered; film yourself from the side to see it. Fault 4: Landing sketchy. Cause: stiff legs on landing. Fix: land like you are catching an egg — knees deeply bent, absorbing through the whole body. General athleticism accelerates all of this: the progressive overload principles in starting a simple workout routine as a beginner build the leg power and coordination ollies demand.
The Drill Progression That Works
Stage 1 — stationary on grass or carpet: practice the pop-and-slide motion without rolling. Hundreds of reps. Boring, essential. Stage 2 — rolling slowly: ollie over painted lines, then cracks, then a broomstick. Speed adds stability; most skaters ollie better rolling than stationary. Stage 3 — obstacles: progress from a deck-width object to a skateboard on its side to a curb. Stage 4 — while moving fast: ollie up curbs, over gaps, onto ledges — the real-world applications.
Key practice rules: short daily sessions (20-30 minutes) beat weekly marathons — ollies are motor learning, and sleep consolidates it. Film yourself — phone video from the side reveals faults you cannot feel. Do not practice tired — fatigue ingrains bad mechanics. And pad up while learning: wrist guards especially, since beginners break falls with outstretched hands. Fuel the sessions properly — the protein and recovery guidance in how much protein you need working out three times a week applies to skaters training daily.
From Ollie to Everything Else
A solid ollie — leveled, controlled, 12+ inches, landed bolts — unlocks the trick ladder: pop shove-its (same pop, back foot scoops), kickflips (ollie plus front-foot flick), 50-50 grinds (ollie onto the ledge), and gaps. Each builds directly on ollie mechanics, which is why rushing past a shaky ollie to flip tricks produces skaters who can kind-of kickflip but cannot ollie up a curb.
Benchmarks: a good recreational ollie clears a skateboard on its side (~8 inches); a strong ollie clears 18-24 inches; elite street skaters ollie 30+. But height is not the only metric — control at speed, over obstacles, onto and off ledges is what makes the ollie useful. REI’s skateboarding resources cover board setup factors (truck tightness, deck concave) that subtly affect ollie feel. Drill until the ollie is thoughtless, then the whole sport opens up.
Skateboard Setup for Better Ollies
Technique dominates, but setup tweaks remove friction. Deck: medium concave helps — your front foot has something to grip during the slide; flat decks feel slippery, extreme concave feels twitchy. Deck size: 8.0″-8.5″ is the standard learning range; oversized decks are harder to manipulate. Trucks: medium tightness — too loose and landings wobble, too tight and the board feels dead. As a rule, you should be able to turn comfortably without the wheels biting the deck.
Wheels: 52-54mm, 99a-101a hardness is the street standard — smaller, harder wheels are lighter and slide better for the motions ollies require. Bushings: matched to your weight (most stock bushings suit 140-180 lbs; lighter riders benefit from softer aftermarket bushings for the same truck feel). Grip tape: fresh grip matters more than skaters admit — worn-smooth grip lets the front foot slip during the slide instead of dragging the board up. Hardware and maintenance: check that all bolts are tight (a rattling board destroys confidence), bearings spin freely, and the deck is not waterlogged or delaminated. The honest caveat: no setup fixes bad mechanics — a $200 complete will not ollie higher than a $90 one in unpracticed feet. Dial the setup to remove excuses, then do the reps.
Conclusion
Improving your ollie is mechanics plus reps: deep crouch, violent pop, committed front-foot slide, real jump, leveled landing — drilled daily in short sessions, diagnosed on video, progressed from carpet to curbs. There are no shortcuts, but there are no mysteries either. Do the reps, and the board will follow your feet.
Frequently Asked Questions
How long does it take to learn to ollie?
Most skaters land their first sketchy ollies in 2-4 weeks of daily practice, and develop consistent, leveled ollies over 2-3 months. Daily short sessions accelerate learning dramatically.
Why is my ollie so low?
Almost always: not actually jumping (feet must rise for the board to follow), shallow crouch, or weak pop. Film yourself from the side — the fault is usually visible immediately.
What is a rocket ollie and how do I fix it?
A rocket ollie points nose-up without leveling, caused by not pushing the front foot forward at the peak. Fix by exaggerating the forward slide toward the nose as you reach maximum height.
Should I learn ollies stationary or rolling?
Start stationary (grass/carpet) for the basic motion, then move to slow rolling quickly — most skaters find rolling ollies easier and more stable once the motion is familiar.
How high should my ollie be?
A solid recreational ollie clears 12-18 inches leveled and controlled. Beyond height, prioritize control: ollieing at speed, over obstacles, and onto ledges is what makes the trick useful.