
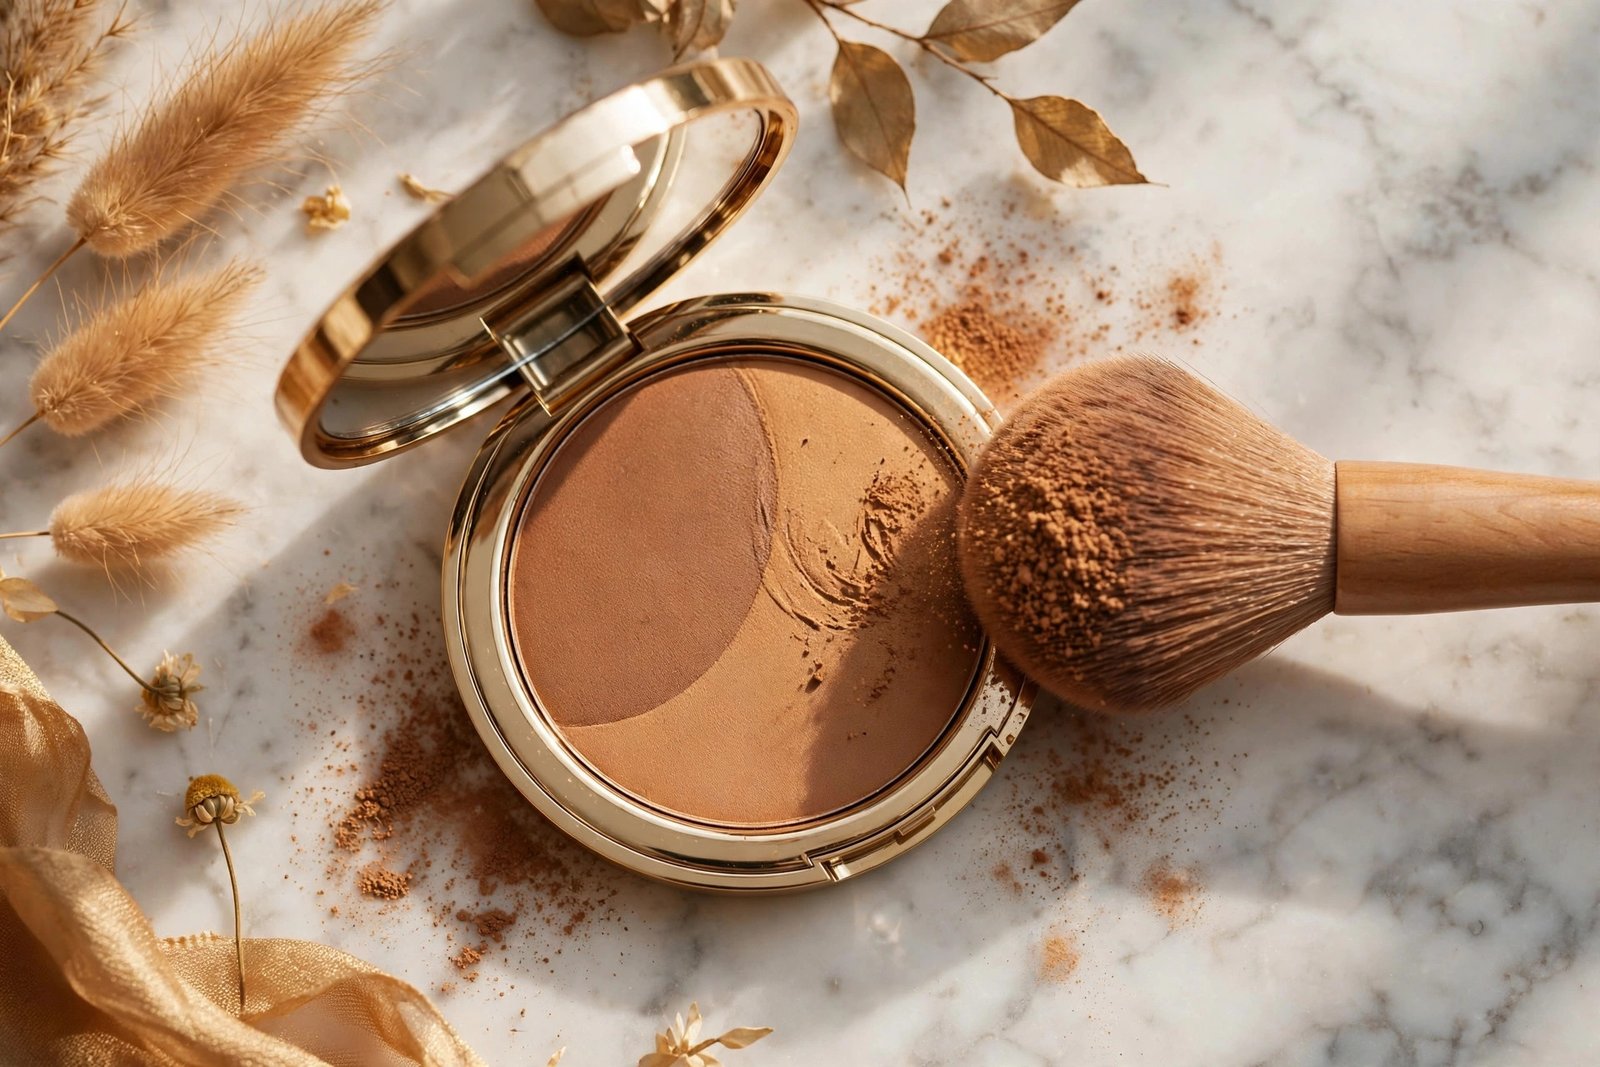
Bronzer is the most betrayed product in makeup: bought in the wrong shade, it turns skin orange, muddy, or striped — the telltale signs of a mismatch between product and person. But in the right shade, bronzer is transformative: warmth, dimension, and a healthy glow that makes the whole face look alive. The difference is entirely in the selection.
This guide explains how to choose the right shade of bronzer: undertone matching, the two-shade rule, matte versus shimmer, application technique, and the mistakes that cause the orange effect.
Undertone First: The Non-Negotiable
Your skin’s undertone — warm (golden, yellow), cool (pink, red), or neutral — determines which bronzers work. The test: look at your wrist veins in natural light (greenish = warm, bluish/purplish = cool, in-between = neutral), consider whether gold or silver jewelry flatters you more (gold = warm, silver = cool), and recall whether you tan golden or burn pink.
The matching rule: warm undertones need warm bronzers (golden, honey, amber tones); cool undertones need neutral-to-cool bronzers (taupe-leaning, less orange — often labeled “contour bronzer”); neutral undertones can wear either but should lean toward balanced, non-orange shades. The orange effect happens almost exclusively when warm, red-toned bronzers meet cool skin — the mismatch reads as fake tan gone wrong. When in doubt, choose the more neutral option; neutral bronzers flatter the widest range. Color theory applies across beauty — see what colors go well together for the wardrobe parallel.
The Two-Shade Rule and Depth Matching
Choose a bronzer 1–2 shades deeper than your natural skin tone — no more. Three shades deeper creates the mask line; the right depth creates believable warmth. Test on your jawline in natural light (not store fluorescents, which lie) — the right shade disappears into skin with a hint of warmth; the wrong shade sits on top visibly.
Depth guide: fair skin — light honey, soft golden tones (avoid deep bronze — it reads dirty); light-medium — warm caramel, golden bronze; medium-tan — rich bronze, terracotta warmth; deep skin — deep bronze with red or golden undertones (avoid ashy or gray-cast bronzers, which dull rich skin). Many brands now offer 4–6 bronzer depths — the expanded ranges are worth seeking; a brand with one “universal” bronzer is selling to light-medium skin only. Seasonal adjustment matters too: you may need a deeper shade in August than February — or just apply more sheerly. A flexible application approach often beats owning two separate shades.
Matte vs. Shimmer: Finish Decisions
Matte bronzer: the workhorse — defines, warms, and sculpts without drawing attention to texture. Best for: everyday wear, oily skin (shimmer amplifies shine), and contour-adjacent sculpting. Shimmer/satin bronzer: adds glow and luminosity — beautiful on the high points, risky all over. Best for: evening, dry skin (the luminosity flatters), and the “lit from within” effect.
The versatile move: a matte bronzer for structure (hollows of cheeks, temples, jawline) plus a touch of shimmer bronzer or highlighter on the high points (tops of cheekbones, bridge of nose). Never use glittery bronzer for all-over warmth — the sparkle reads as sweat in daylight. And consider your skin texture honestly: shimmer over textured skin (acne scarring, large pores) emphasizes it; matte is kinder. Your overall aesthetic guides the choice — see finding your personal style.
Application: The 3/E Technique
The classic method: with a fluffy bronzer brush, sweep in a “3” (or “E”) shape on each side of the face — forehead temple, hollow of cheek, jawline. This places warmth where the sun naturally hits. Technique rules: tap off excess (the number-one cause of muddiness is too much product), build in sheer layers (two light passes beat one heavy one), blend upward and outward (downward blending creates the jawline mask), and connect to the neck (a warm neck prevents the floating-face effect).
Common mistakes: bronzing the entire face like foundation (it flattens features — bronzer is for dimension, placed strategically), using too small a brush (dense brushes deposit too much; fluffy diffuses), skipping the ears and neck (mismatched zones betray the artifice), applying over unset foundation (bronzer grips unevenly on tacky base — set lightly first), and forgetting to check in natural light before leaving (indoor lighting forgives what daylight exposes). Less is more until you learn your face’s map.
Cream vs. Powder: Format Guide
Powder bronzer: easiest for beginners, most shade options, best for oily skin — apply with a fluffy brush over set makeup. Cream/liquid bronzer: more natural, skin-like finish — best for dry skin and the no-makeup look; apply with fingers or a dense brush before powder, and blend thoroughly (creams show edges more). Stick bronzer: convenient, good for targeted application — warm it on the back of your hand first for smoother blending.
Bronzer for Different Occasions
Everyday natural: sheer matte powder bronzer, 3/E technique, blended thoroughly — the “have you been on vacation?” effect. Evening/glam: layer a satin-finish bronzer over the matte base on high points, add highlighter, deepen slightly — camera and candlelight love warmth. Photos: bronzer prevents the washed-out flash effect — go 10% deeper than everyday, blend meticulously (cameras magnify edges), and check in phone-camera light before the event.
Summer vs. winter: in summer, your skin has natural warmth — use bronzer sheerly or skip to a lighter shade; in winter, bronzer restores the dimension that pale skin loses — this is its highest-value season. And for video calls: bronzer is the fastest way to look alive on camera — a quick 3/E sweep before logging on beats any filter. Travel note: bronzer is the one product that adapts to destination — a touch more in tropical sun, sheerer in overcast cities. The product earns its place in every season; only the intensity changes.
How to choose the right shade of bronzer ultimately comes down to: match undertone first, stay within two shades of depth, pick matte for versatility, apply with the 3/E technique in sheer layers — and when it looks orange, it’s the undertone, not you. Swap cooler and watch the magic.
Check ingredient safety information at the FDA, and browse dermatologist-reviewed explainers at Cleveland Clinic.
Frequently Asked Questions
How do I choose the right bronzer shade?
Match your undertone (warm skin = warm bronzers; cool skin = neutral/taupe bronzers), choose 1–2 shades deeper than your skin, test on the jawline in natural light, and pick matte for versatility. Neutral bronzers flatter the widest range.
Why does my bronzer look orange?
Undertone mismatch — warm, red-toned bronzer on cool skin reads orange. Switch to a more neutral or taupe-leaning shade. Also check: too-deep shade, too much product, or applying over unset foundation.
Should I use matte or shimmer bronzer?
Matte for everyday structure and oily skin; shimmer for evening glow and dry skin. The versatile combo: matte bronzer for warmth and dimension, shimmer only on high points. Avoid all-over glitter in daylight.
Cream or powder bronzer: which is better?
Powder for beginners and oily skin (easiest, most shades); cream for dry skin and natural finishes (blend thoroughly); sticks for targeted convenience. Match the format to your skin type and skill level.
Where do you apply bronzer?
The 3/E technique: temples, hollows of cheeks, jawline — where sun naturally hits. Tap off excess, build sheer layers, blend up and outward, and warm the neck to avoid the floating-face effect.